WP MAPS PRO have a new functionality to assign location using Advanced Custom Fields. In this tutorial we will look at how the Advanced Custom Fields plugin can be used to create a location in Google Map Plugin.
1. Create a Custom Field Group
Step 1 First install the free wordpress plugin ACF plugin and activate it.
A new Custom Fields menu should now show up in your WordPress admin area.

Step 2 To create custom field, click Custom Fields in the WordPress admin area.
Step 3 Click Add New button at the top to create a new field.

Step 4 Then Give a useful Name like “Google Maps” and Click the Add Field button to create the fields.

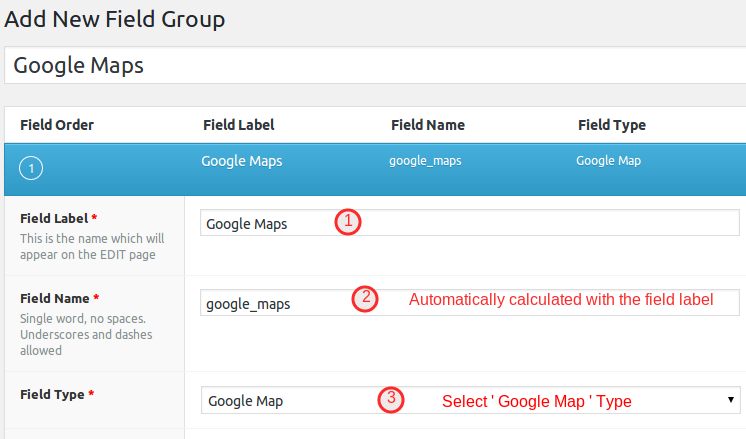
Step 5 It’ll open a form and enter the Field Label , Field Name(automatically be populated with the label), and select Field Type -> Google Map.

Click Publish button to save the fields.
2. Create a location Using Posts(ACF location)
After that, you need to create a post to add a location using ACF. For this:
Step 6 From the WordPress dashboard go to Posts -> Add New.
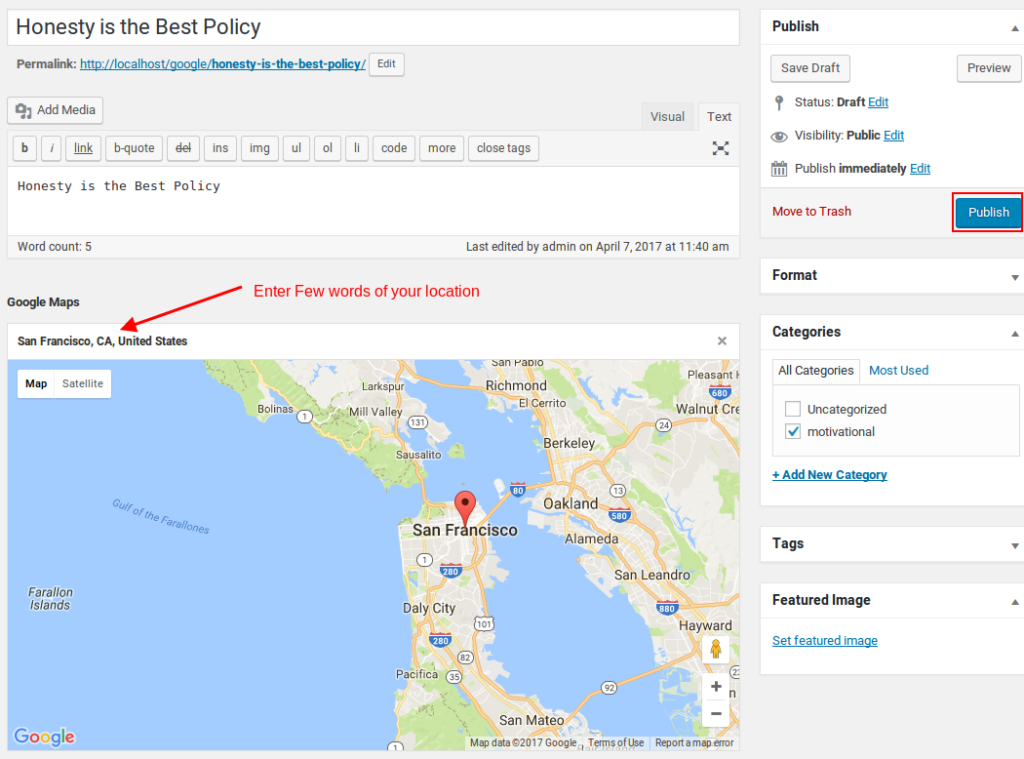
Step 7 Enter the title and post content and assign a category to the post.
Step 8 Now scroll down the post page, and you’ll see a google map display on your page. Enter the Name of your location. Type a few words of your address and choose your Address(using google autosuggest).

Click Publish button to publish your post.
Note: If you didn’t get the ACF field google map or find any error, Open up your functions.php file located in wp-content/themes/your-theme-name/ and add this code to it:
function my_acf_google_map_api( $api ){

$api['key'] = 'Insert your api key here';

return $api;

}

add_filter('acf/fields/google_map/api', 'my_acf_google_map_api');
3. Copy the Field Name
Step 9 Go to Custom Fields -> Edit and copy the field name.

4. Assign ACF location on Map page
Step 10 Go to WP MAPS PRO -> Add or Edit Map page and fill the general information to create a map.
Step 11 Scroll down the page and point to the Show Posts using ACF Plugin section and paste the ACF field name(in my case it would be google_maps).

and click to Save Map.
5. Display the map in frontend
Step 12 Go to the Manage Map page, copy the shortcode of your map, and paste it into any post/page to display Google Map.
We have created a tutorial related to this please follow it. HOW TO DISPLAY MAP IN FRONTEND?
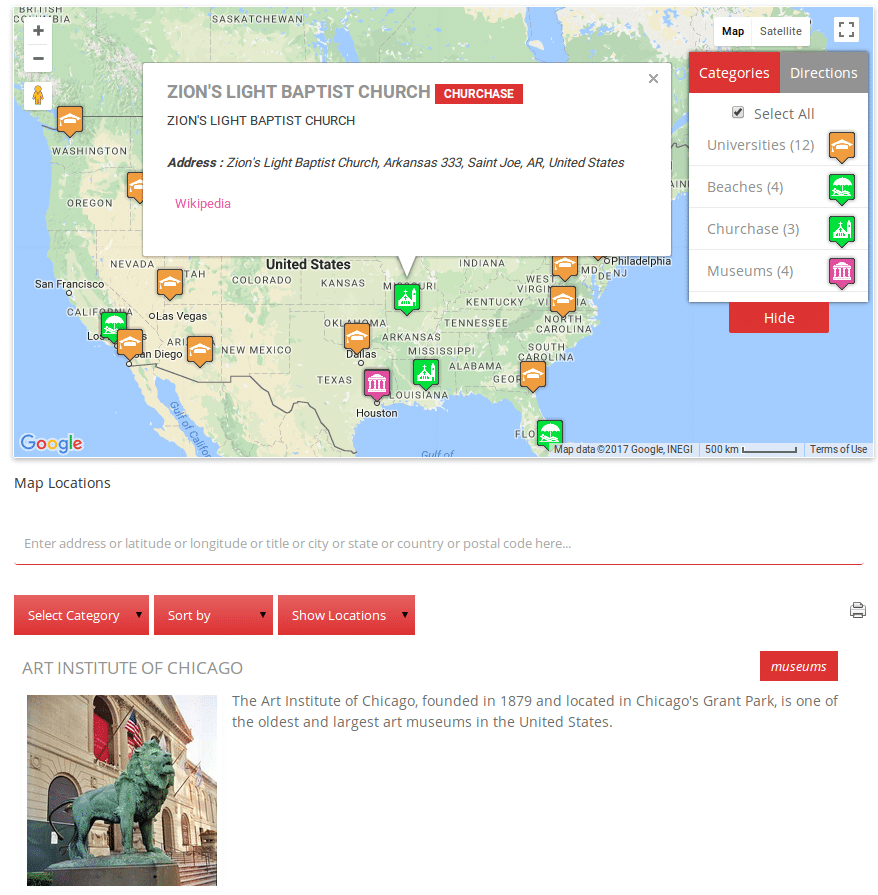
Now you’ll see a location created using ACF in frontend.

Related Tutorials:
- How to hide locations of categories in tabs settings
- How to display posts content in google maps
- How to assign a location in a map
- How to display locations per page in listings
- How to display Nearby locations using tabs settings
Related Examples:
- Display multiple filters by location fields
- Load a map according to the visitor’s location
- Display posts on Google Maps
- Show posts using custom fields
- Display maps using ACF (Advanced Custom Fields)