WP Maps Pro makes it easy to display map marker categories in a tabbed or checkbox-style filter section. This allows users to show or hide markers by selecting one or more categories — perfect for improving navigation on maps with many locations.
Note: Before using this feature, make sure you have created marker categories and assigned them to your locations.
🛠️ Steps to Enable Category Tabs
- Go to: WP MAPS PRO → Manage Maps.
- Edit a Map: Click Add/Edit on the map where you want to display category tabs.
- Scroll to: The Tabs Settings section.
- Enable: Both
Display TabsandDisplay Categories Taboptions.
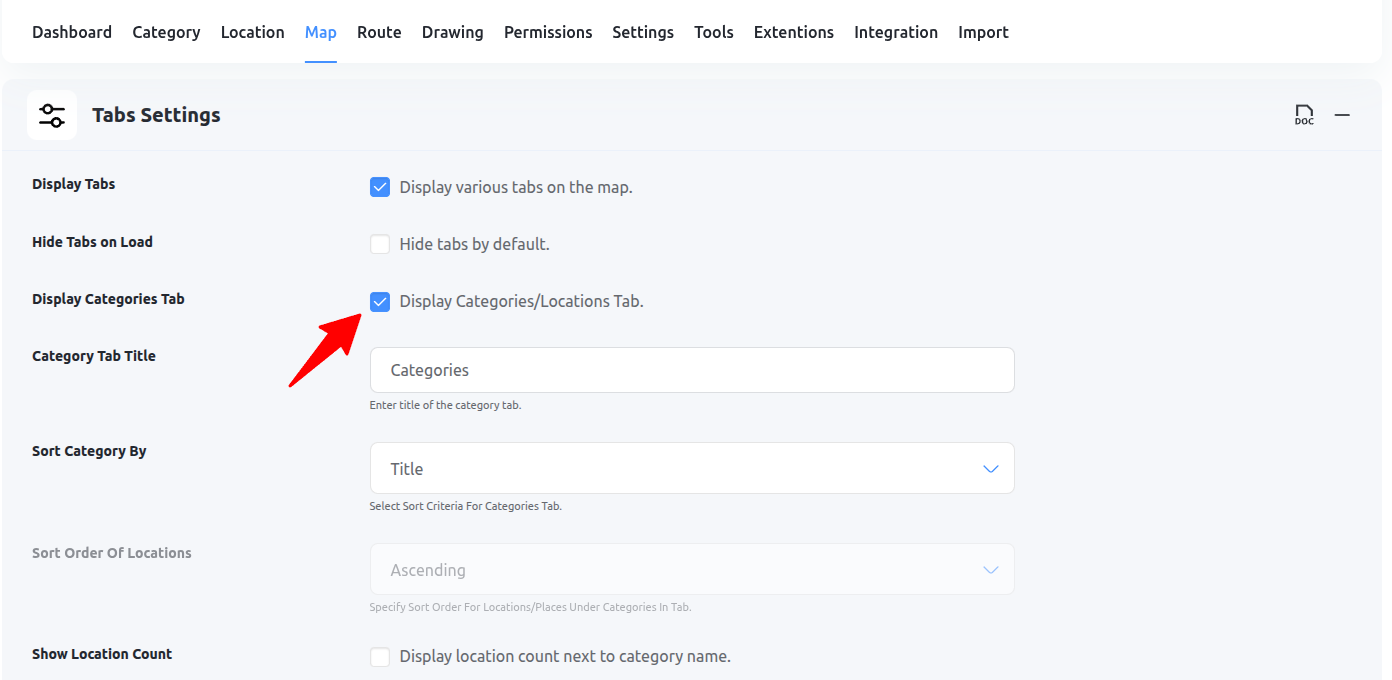
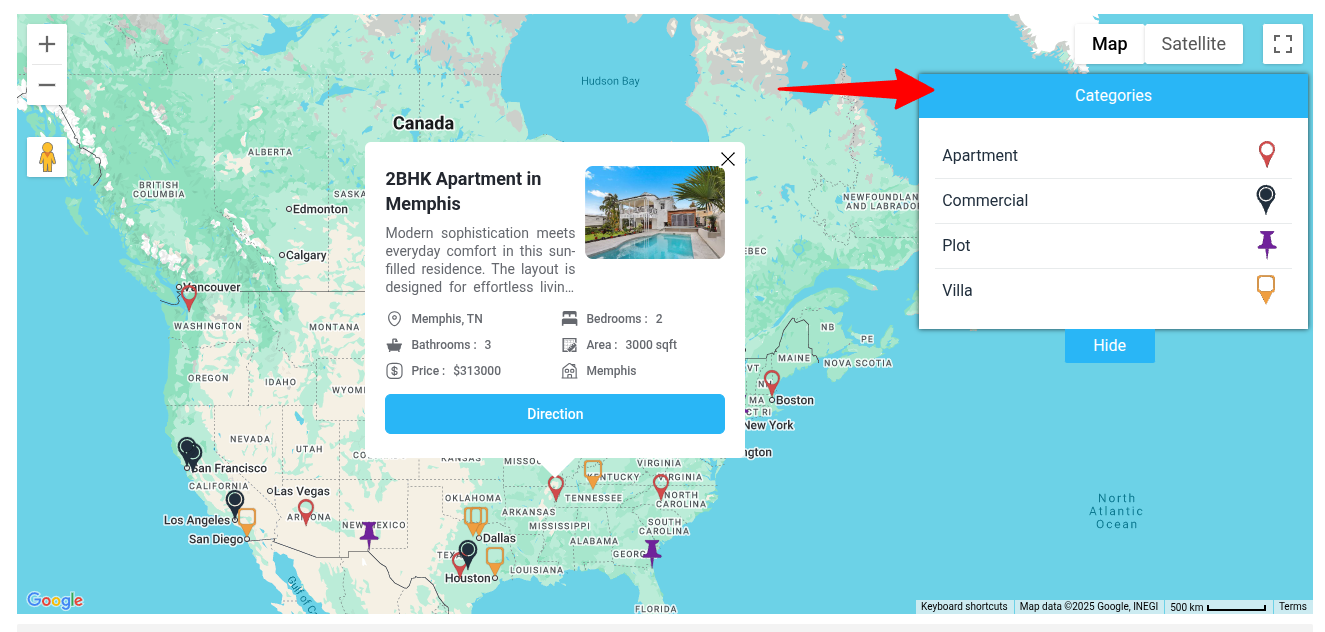
Click Save Map. You will now see a tab-style filter appear in the top-right corner of your map on the frontend.
💡 Use Cases
- Toggle between different store types (e.g., Retail, Dealer, Service).
- Separate event types (Webinar, Conference, Meetup).
- Show or hide regional clusters or service zones.
Want more customization? Pair this with custom marker icons for a fully branded map experience.
Need help? Submit a support ticket — our team is ready to assist!
Related Tutorials:
- How to Use URL Filters in WP Maps Pro
- How to display Nearby locations using tabs settings
- How to display search form, category sorting filter and radius filter
- How to change the title of routes tab in tabs settings
- How to create a marker category
Related Examples:
- Sort categories by title in google map tabs
- Filter by category in Google Maps
- Color scheme in Google Maps
Was this article helpful?
YesNo