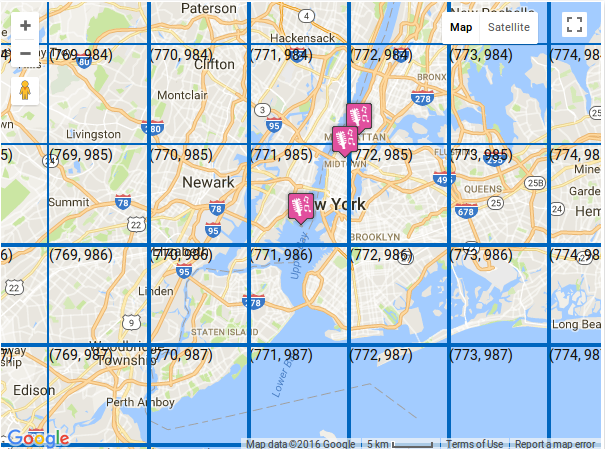
The Google Map here illustrates a normal 2D roadmap with overlays bound to certain latitude/longitude coordinates. The WP MAPS PRO wordpress plugin allows you to customize the overlays with options like border color, border style, overlay width, overlay height, font size etc.
How to apply overlays on a map
Step 1 Go to Add or Edit Map and scroll down to ‘Overlays Settings’ section.
Step 2 Enable or tick ‘Apply Overlays’ tab as below.

Check the option to activate overlay
- Overlay Border Color: Select a border color for overlay.
- Overlay Width: Insert overlay width.
- Overlay Height: Set height of overlay.
- Overlay Font Size: Add desired font size.
- Overlay Border Width: Set a border width.
- Overlay Border Style: Choose a style from available options.
Step 3 Click save map and open it in browser.
You’ll see overlay lines on a map.

Related Tutorials:
- How to include Fusion Table layer on Google Maps
- How to include your KMl/Kmz file in your Google Maps
- How to display traffic layer, transit layer and bicycle layer on Google Maps
- How to apply an overlay layer on a Google Maps
Related Examples:
- Display traffic, transit and bicycle layers in Google Maps
- Display KML/KMZ files in Google Maps
- Display fusion layers in google maps
Was this article helpful?
YesNo