The Traffic, Transit and Bicycling layers modify the base map layer to display current traffic conditions, or local Transit and Bicycling route information. These layers are available in select regions.
Traffic Layer
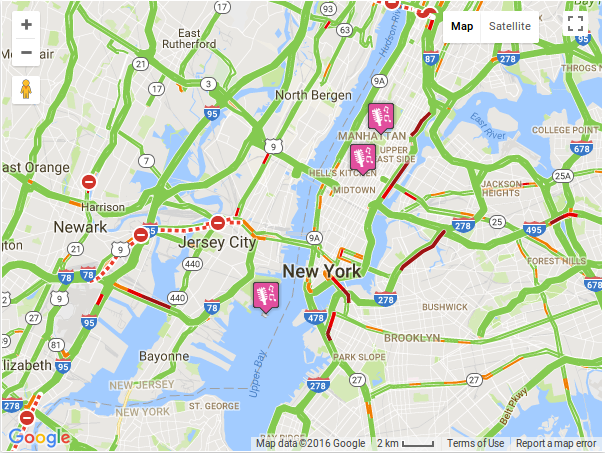
You can enable traffic layer over your Google Map using this wordpress plugin. The traffic layers on Google Maps exhibit real time traffic conditions for locations that support it. The Google map below shows very high traffic by black/red, yellow depicts average and green color-codes show low traffic conditions.
Follow the steps below to display traffic layer in Google map:
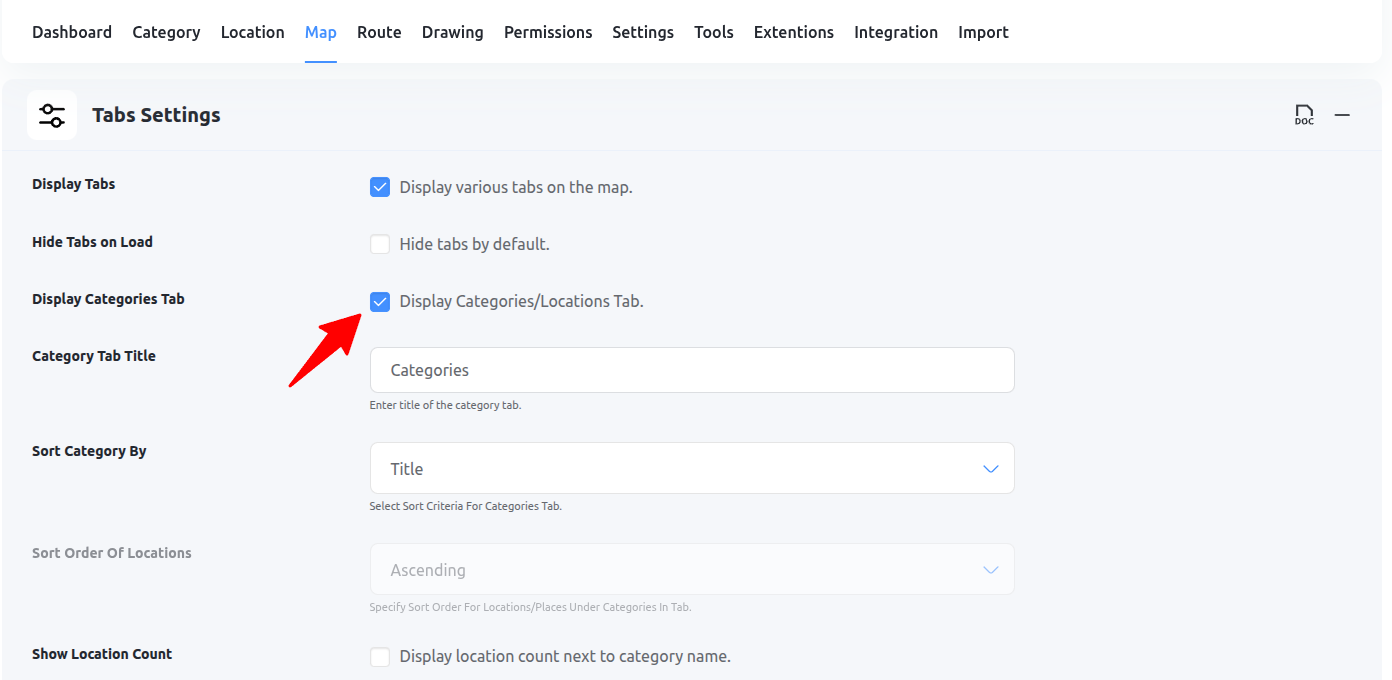
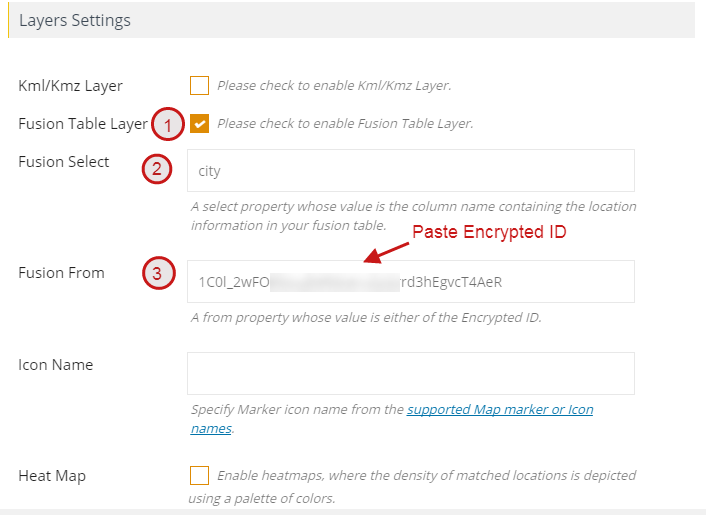
Step 1 Go to Add Or Edit Map and scroll down to ‘Layers Settings’ section.
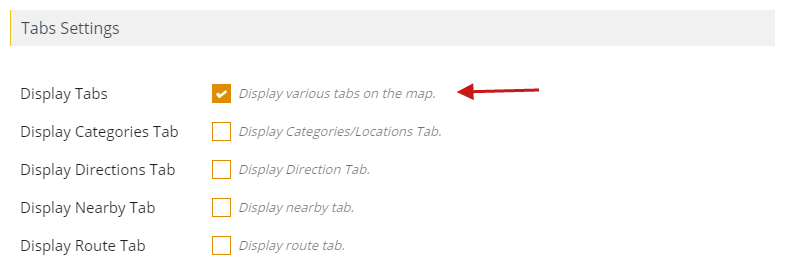
Step 2 Enable or tick ‘Traffic Layer Tab’.
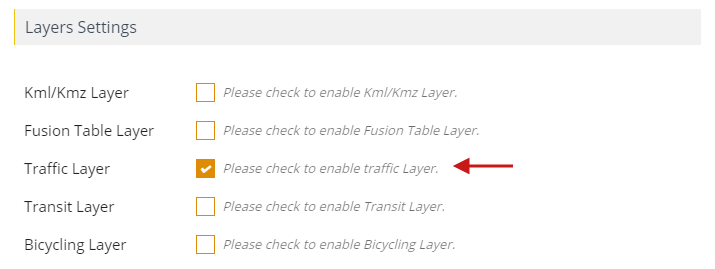
Step 3 Then click on Save Map.
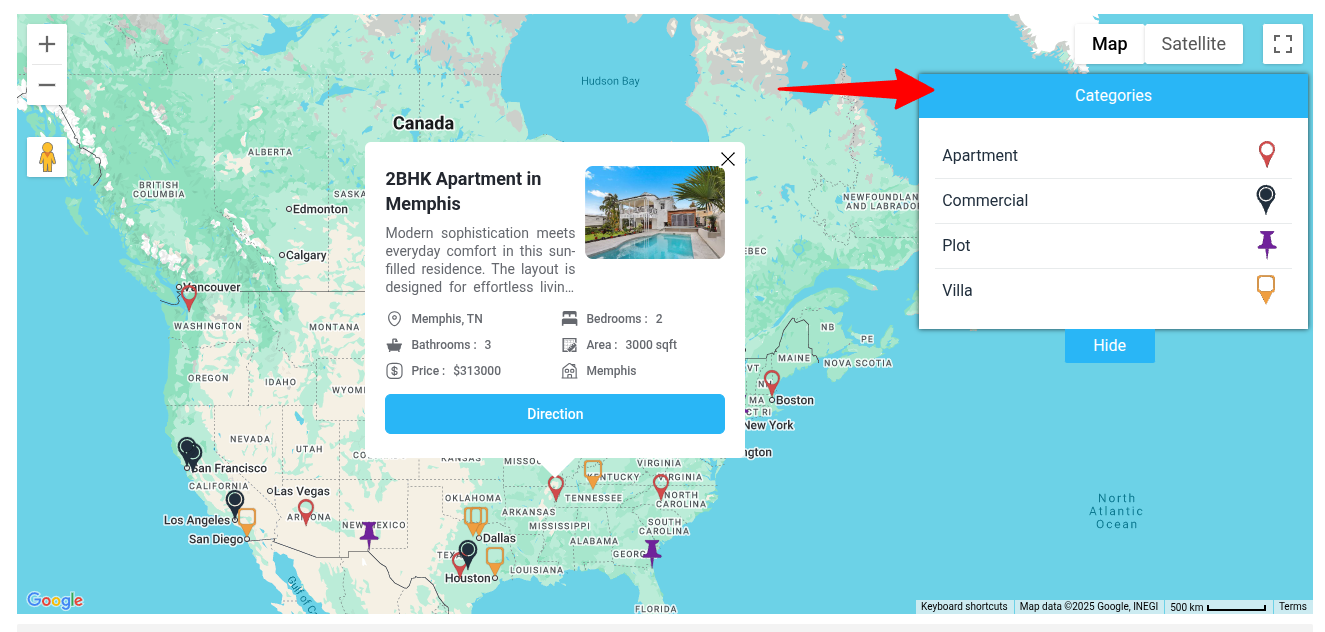
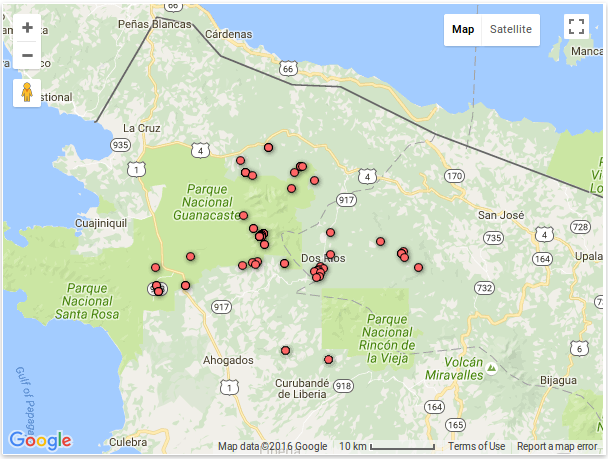
You’ll see the traffic layer on the map.
Transit layer
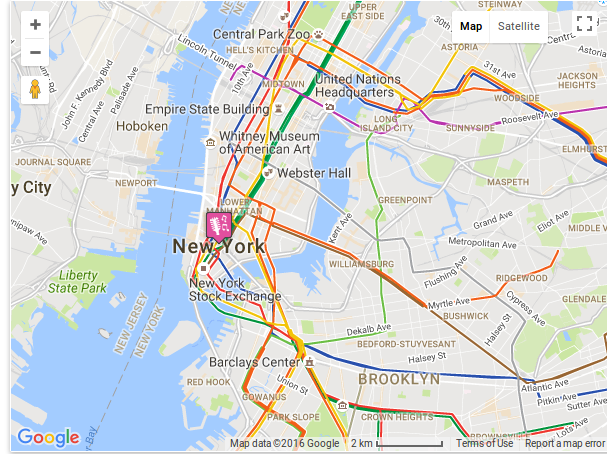
The Google Maps allows you to display the public transit network of a city on your map.
Follow the steps below to display transit layer in Google map:
Step 1 Go to Add Or Manage Map and scroll down to ‘Layers Settings’ section.
Step 2 Enable or tick ‘Transit Layer Tab’.
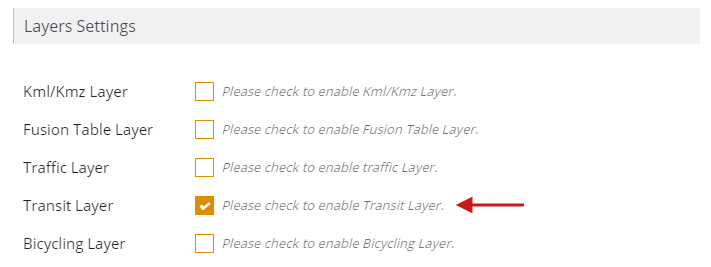
Step 3 Then click on Save Map.
You’ll see the transit layer on the map.
Bicycling layers
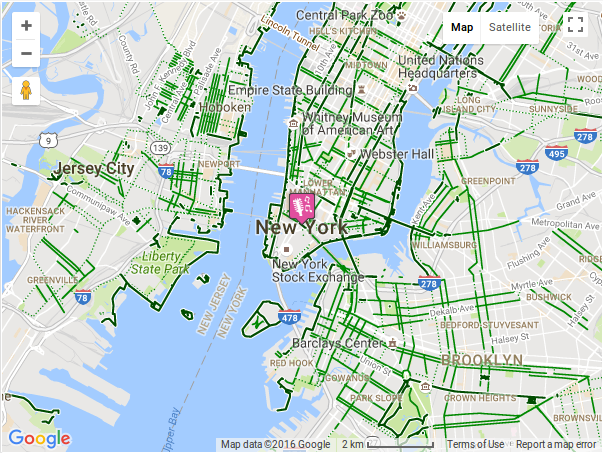
Use the Bicycling layer in WP MAPS PRO plugin to find any bicycle or bike paths available. In the map depicted the bicycling routes are indicated by dark green lines and streets with these routes are shown by light green lines. Dashed lines stand for paths recommended for bicycling.
Follow the steps below to display Bicycling layer in Google map:
Step 1 Go to Add Or Manage Map and scroll down to ‘Layers Settings’ section.
Step 2 Enable or tick ‘Bicycling Layer Tab’.
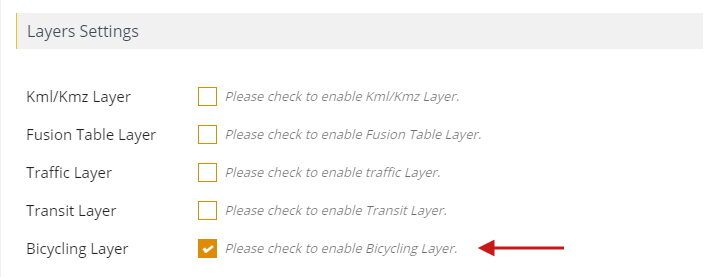
Step 3 Then click on Save Map.
You’ll see the bicycling layer on the map.