Using this Customer Itinerary is an extension of the WP Maps Pro plugin. This extension allows members/guests to add (Markers)trip route from the frontend on your given map. Using this extension you can allow their members/guests to submit their trip location details from the frontend and also display location trip route to members/guests which is submitted by them.
Please make sure you have installed WP Maps Pro plugin into your website. In case you have not installed it yet. Please download these plugins and configure them first. Here are the following steps to install the WP Maps Pro plugin.
Here is the following process to configure Customer Itinerary add-on:
Step 1: Please navigate to the “WP Maps Pro -> Add Map” and create your map to display the trip route.
Step 2: After activating this addon, you will see two post types generated by this addon:
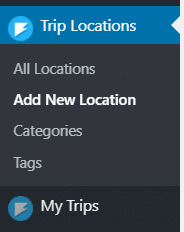
- Trip Locations
- My Trip
Please go to the “Trip Location” post type menu page and start creating locations for adding on a trip .
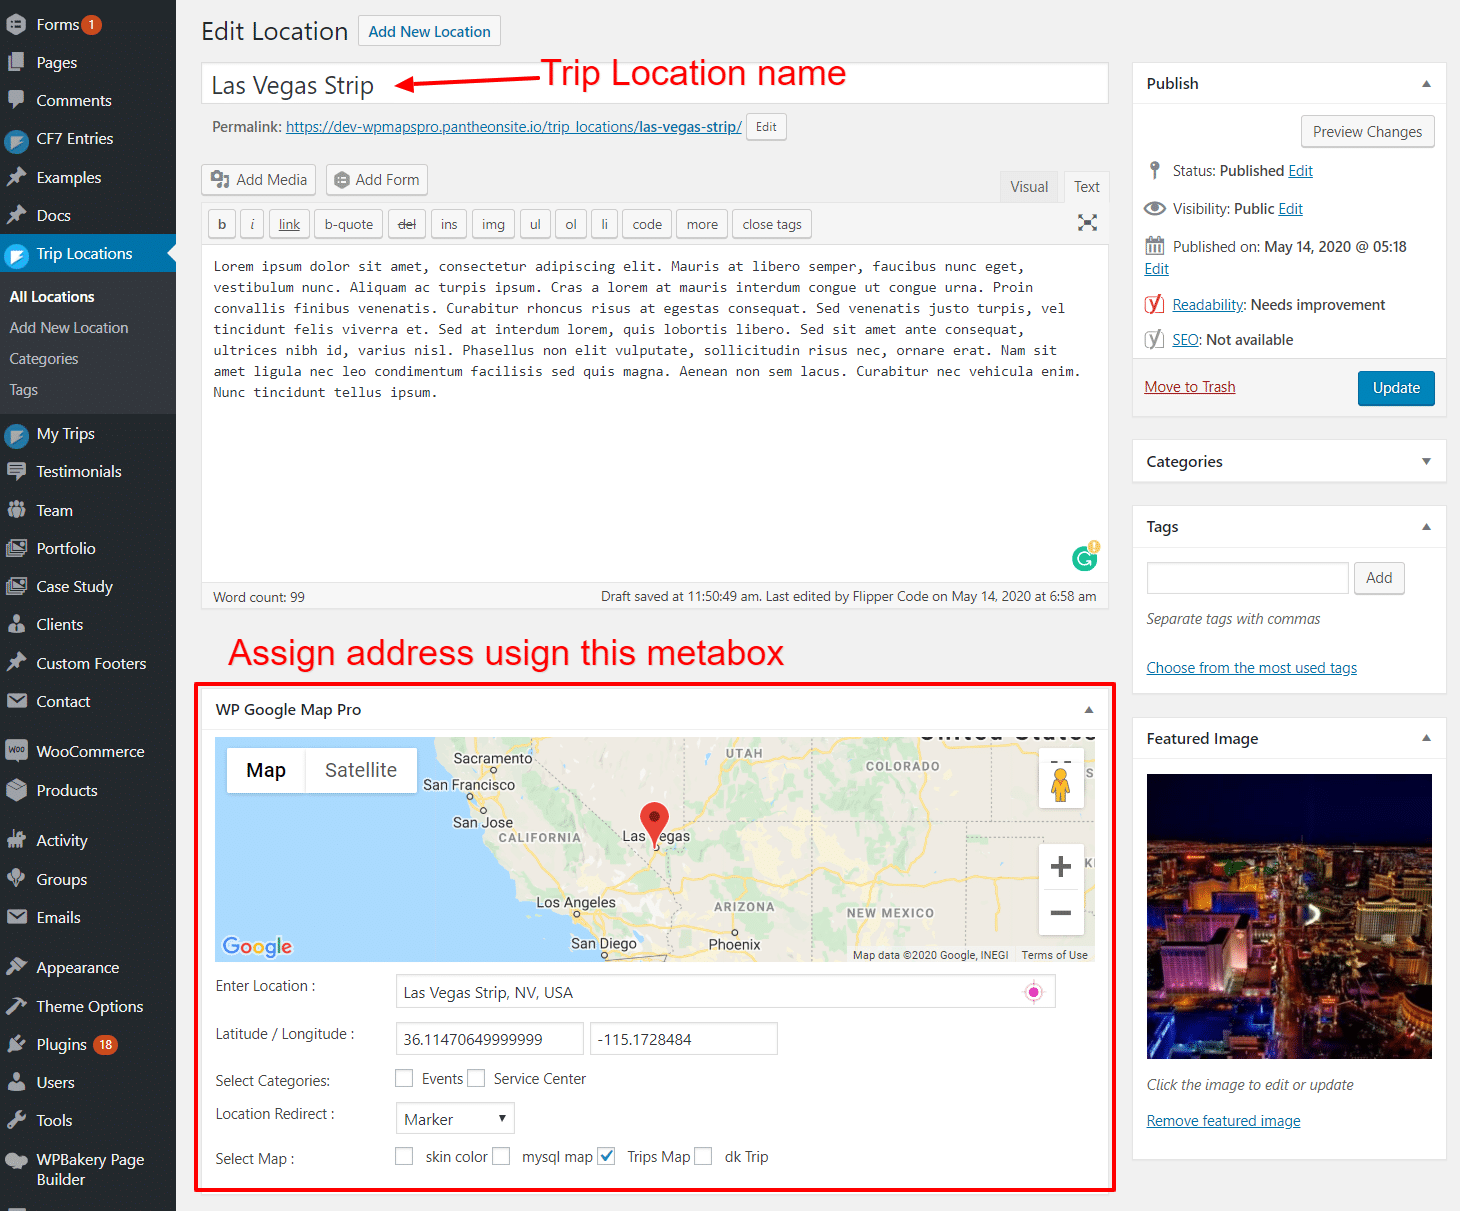
Step 3: Create locations here for adding on the trip, please click on the ‘Add New Location’ page and start creating your location, enter post title as location name, and add autosuggest address using WP MAPS PRO Metabox and select map from Metabox which you created for display trip location.
Step 4: Also, you can see all the locations you have created for the trip on that map which you created for above for this trip which wants to show a map with all the locations created by your addon’s trip location custom post.
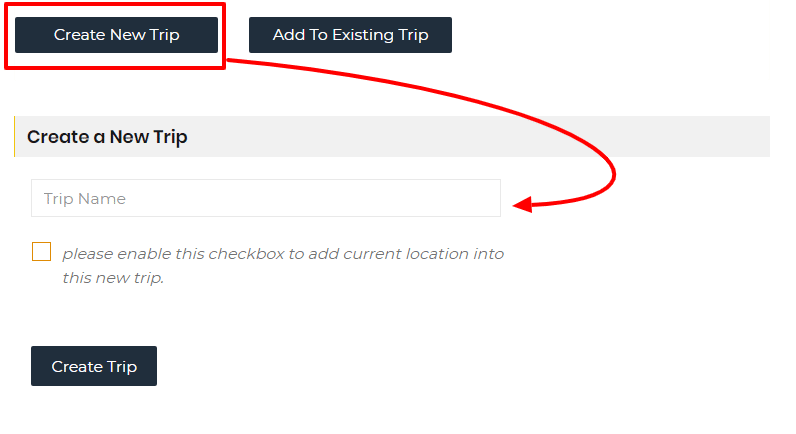
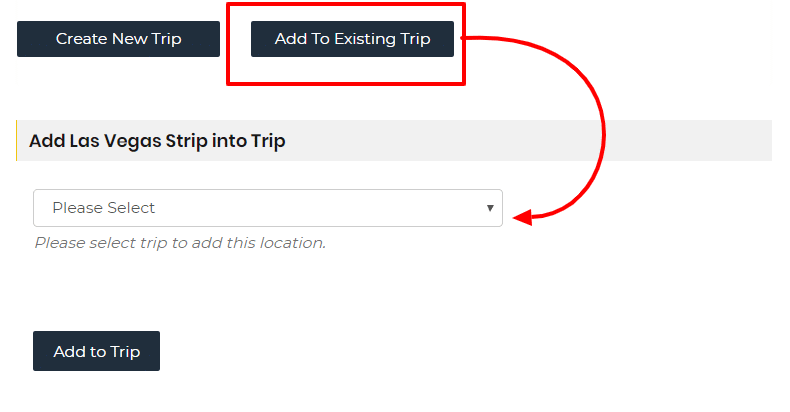
Step 5: When you go to that place by clicking on the ‘read more’ button in the infowindow to see this place post, then you will see two more buttons on that place page: 1. Create New Trip, 2. Add To Existing Trip
1. Create New Trip: Here you can create a new trip then you can assign that location on the new created trip by enabling below the given checkbox.
2. Add To Existing Trip: Here you can select a trip from the given dropdown to assign this location.
Step 5: Please go to the “WP Maps Pro -> Customer Itinerary On Google Maps” menu page.
Step 6: Now select your map from the given ‘Select Map’ dropdown on this addon settings page, to display the trip route on the map.
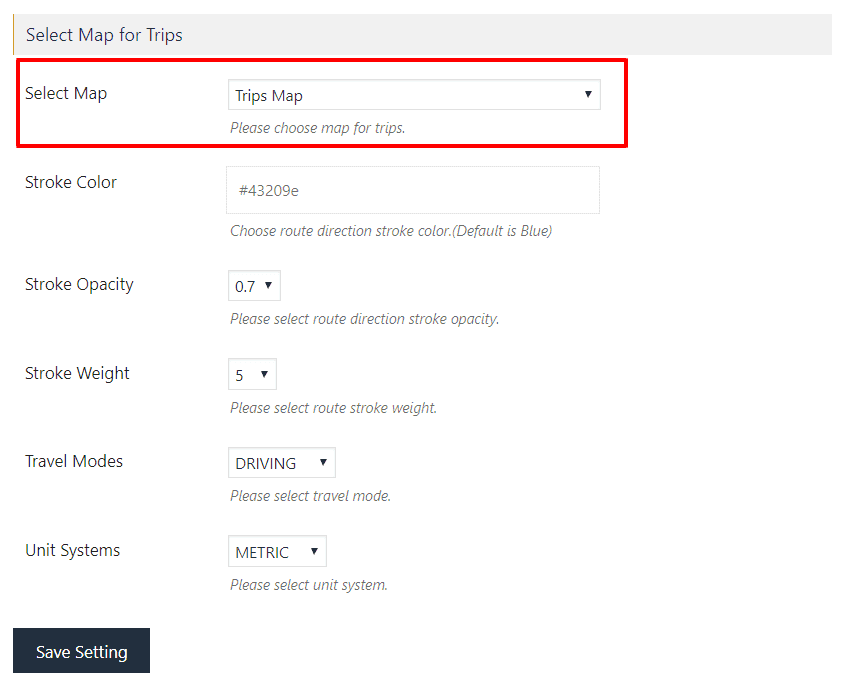
Step 7: After a small process please click on the Save Setting button.
Display Form:
Step 8: Please use this shortcode [user_trips_list] to display the trip list on the frontend, copy this shortcode and paste it on the selected page of your website where you want to create a trip form and display the trip list. After doing this small process your form is displayed here.

Create Trip:
Step 9: Click on “Create New Trip” button after doing this you can see a ‘Create Trip’ form are displaying here.
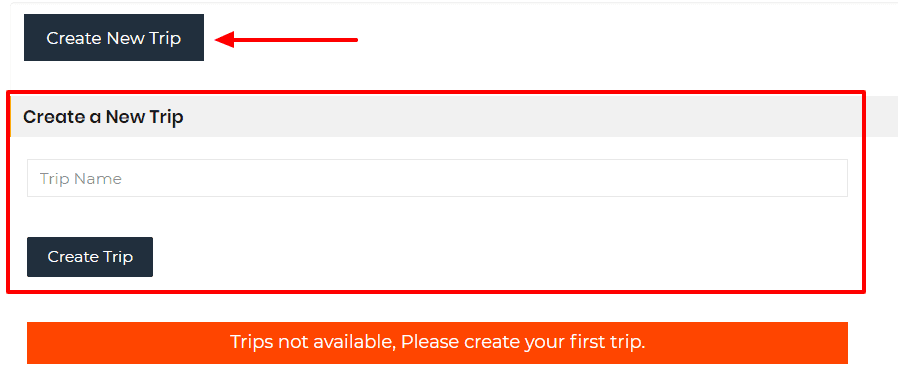
Step 10: Now enter the name of your trip in textbox given in ‘Create a New Trip’ section, then click on the ‘Create Trip’ button to save your trip, you can see a below, created trip are displaying in the table. Now assign locations to the trip as per your requirement.
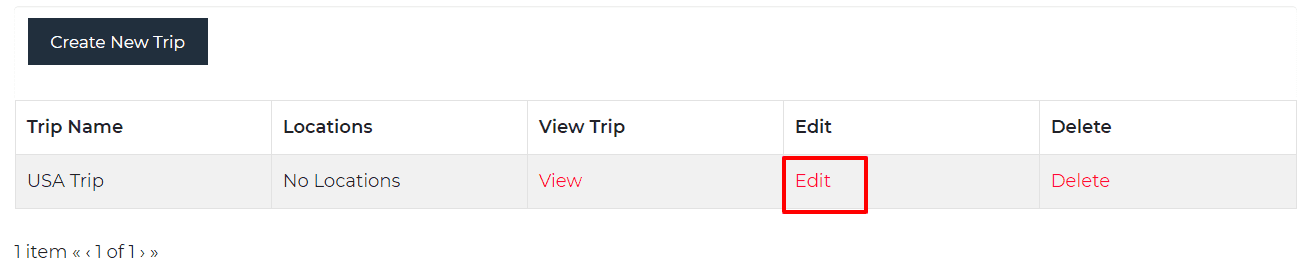
Assign a location to the trip:
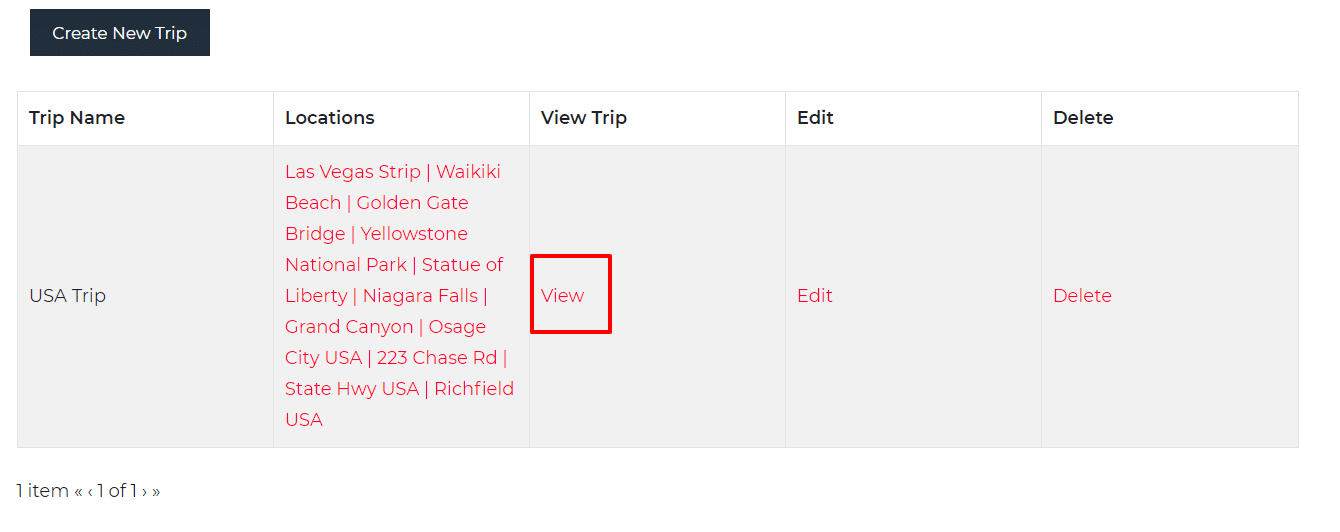
Step 11: Please click on the “Edit” link to assign locations of your ‘trip’ on which you want to assign locations.
Step 12: Now you are in the update trip form, here you can assign locations to your trip as per your requirement, please click on the “Add More” button and select locations to assign your trip, after selecting locations for this ‘trip’ then click on “Update Trip” button, Now your Trip is created you can see it on map.
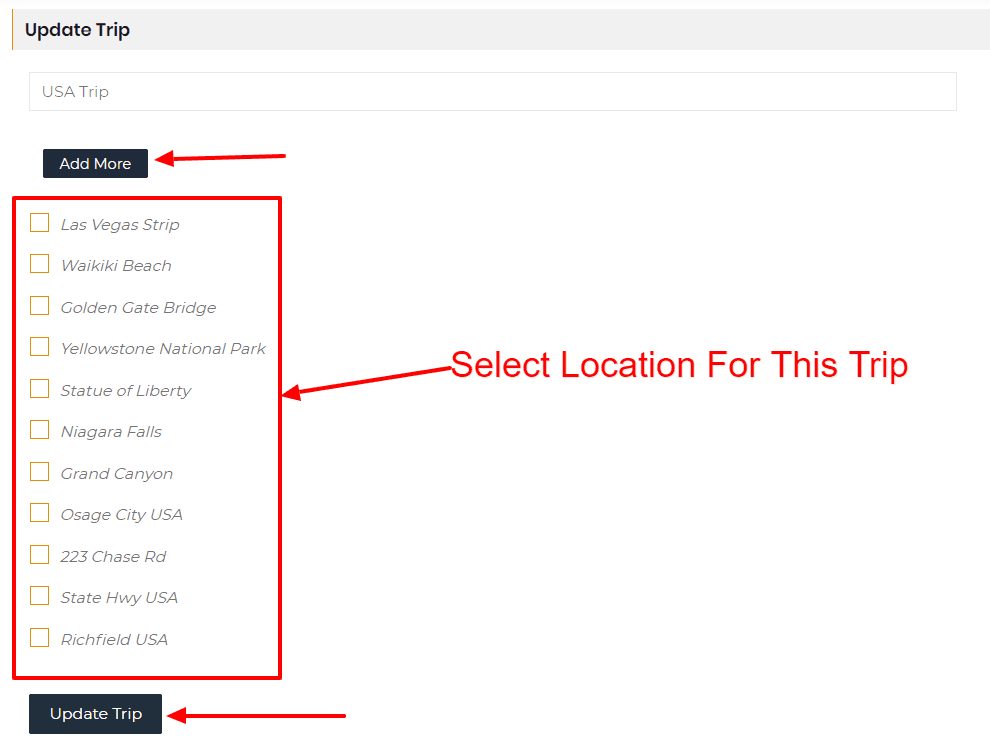
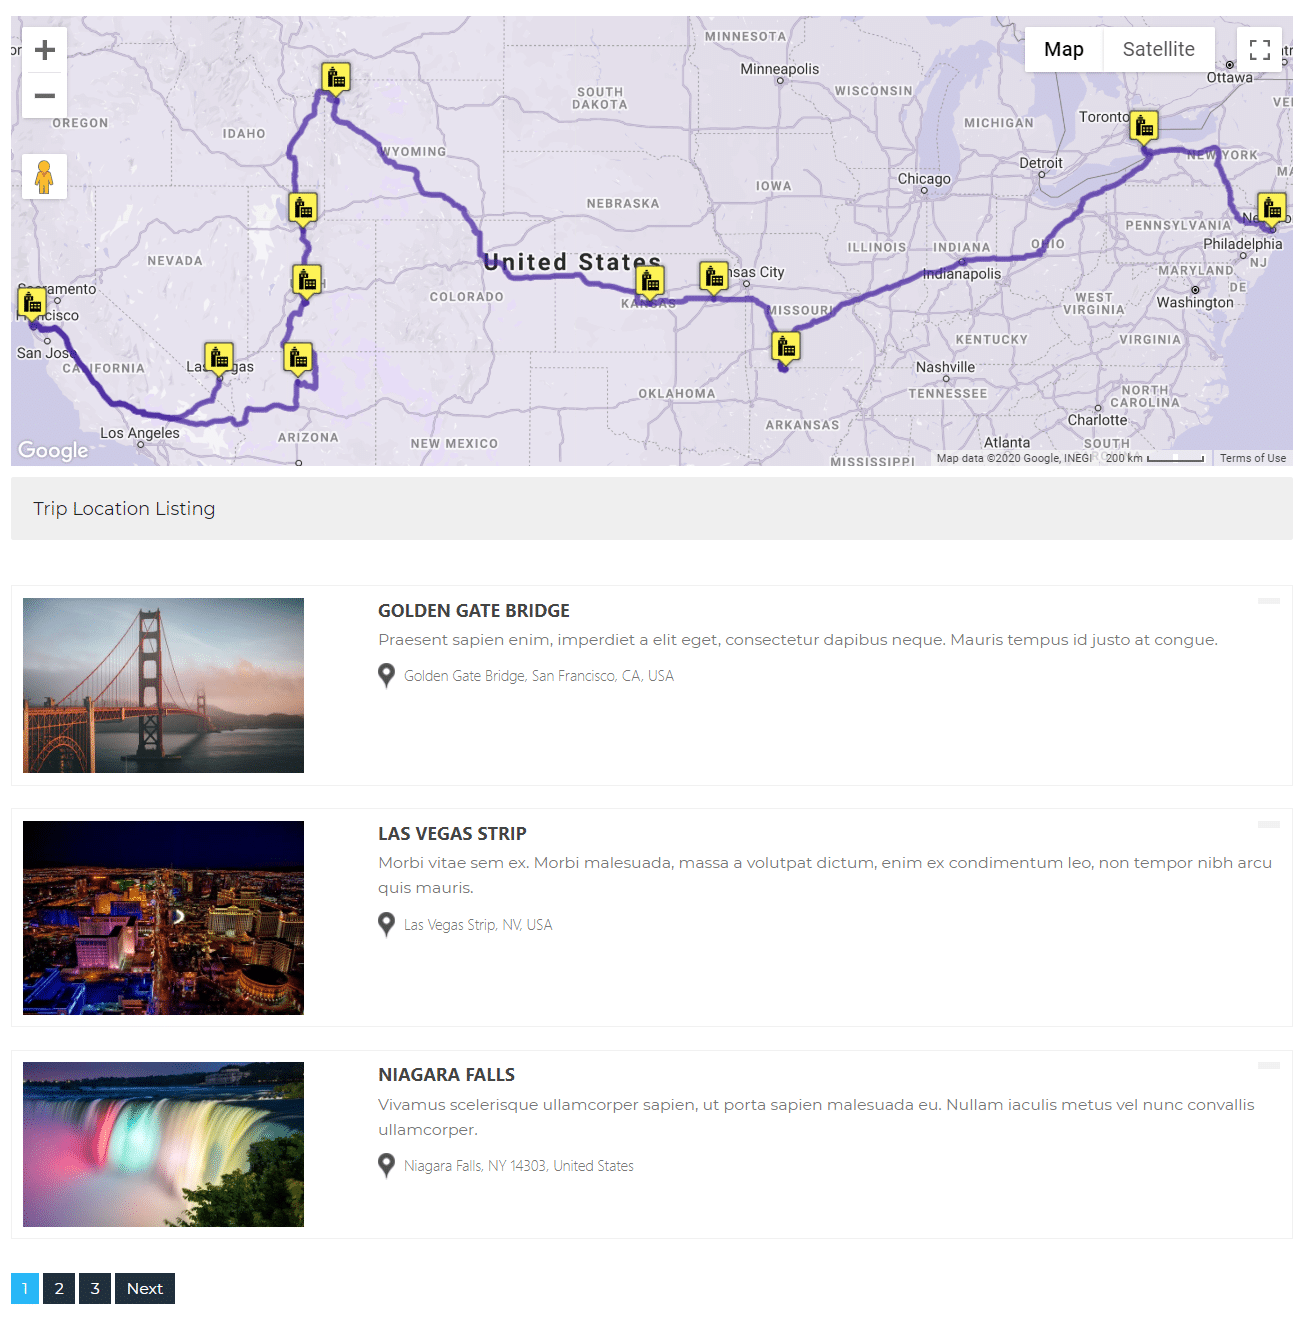
Step 13: After assigned locations, you will see these selected locations are displaying on your created map to view this location route on the map, please go to the ‘trip’ page and click on the “View” link to view your trip route on the map.
Selected locations routes are displaying on the map.
Related Tutorials:
- Display Google Maps with listing in Layout / Design of your choice
- Display user’s Role location on Google Maps
- How to display Airtable data on Google Maps
- Display customer trip route on Google Maps
- How to display BuddyPress members on Google Maps