The Customer Itinerary add-on for WP MAPS PRO lets your members or guests create, manage, and display their own trip routes on Google Maps. They can submit trip locations from the frontend, group them into trips, and view the routes directly on a map.
Requirements: Before starting, make sure you have installed and activated:
1. WP MAPS PRO Plugin
2. Customer Itinerary Add-on
If WP MAPS PRO is not yet installed, follow this guide to install and configure it.
1) Create a Map for the Trip Route
Step 1: Go to WP MAPS PRO → Add Map and create a new map for displaying the trip route.
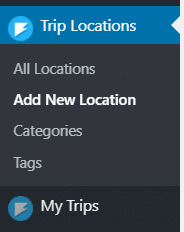
2) Understand the New Post Types
Step 2: After activating the add-on, you will see two new post types:
- Trip Locations – for creating individual locations
- My Trip – for grouping locations into a trip
Go to Trip Locations to start creating your locations.
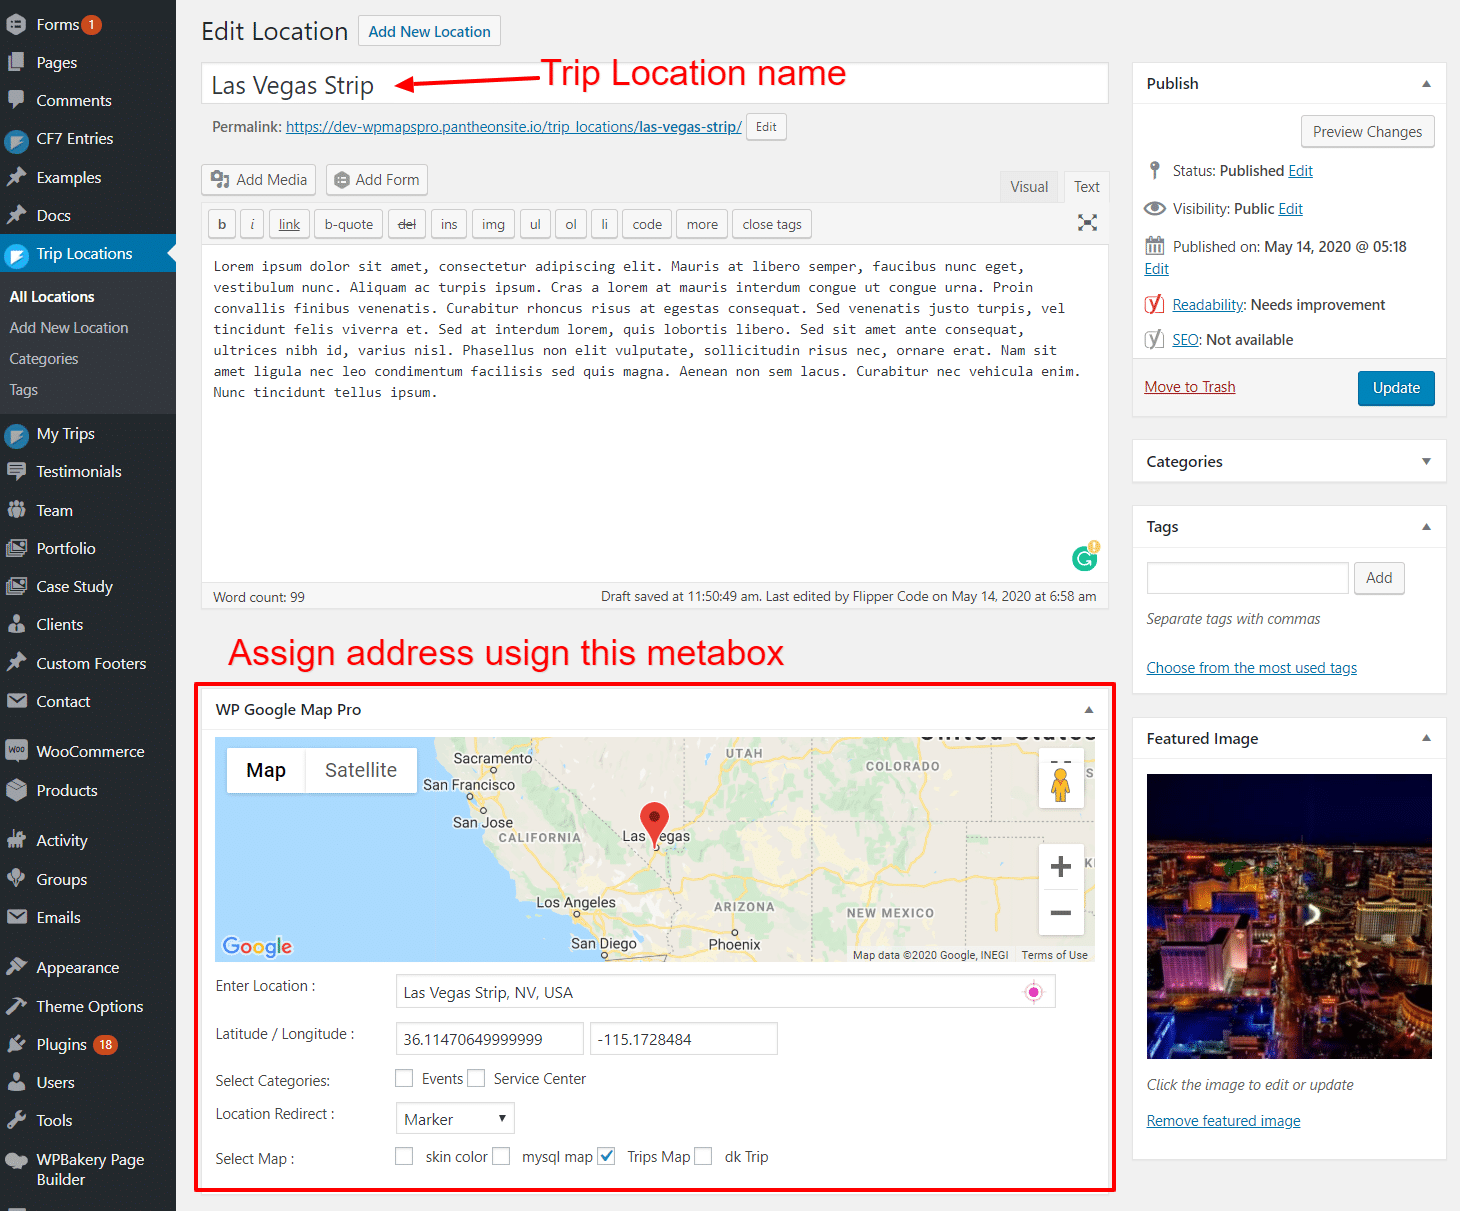
3) Add Trip Locations
Step 3: Click Add New Location, enter a title (location name), and use the WP MAPS PRO Metabox to:
- Enter an autosuggest address
- Select the map you created earlier
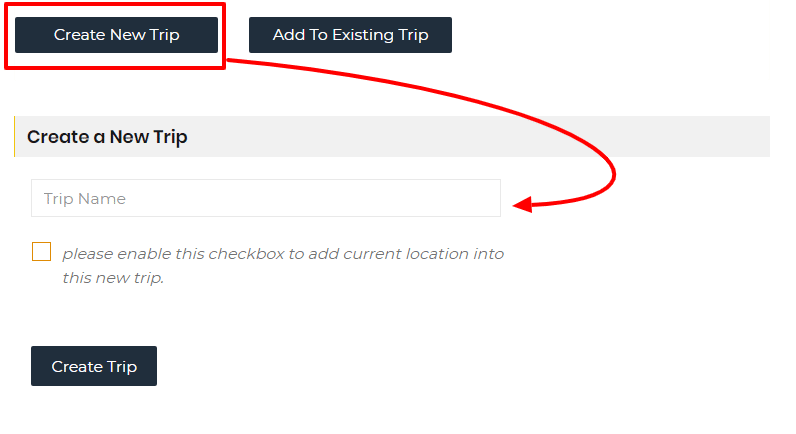
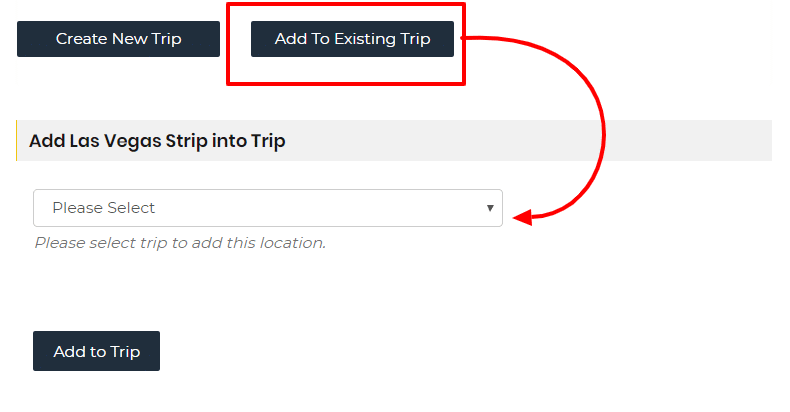
4) Assign Locations to a Trip
Step 4: On each location’s page, you will see two buttons:
- Create New Trip – create a trip and assign this location to it.
- Add to Existing Trip – select a trip from the dropdown to add this location.
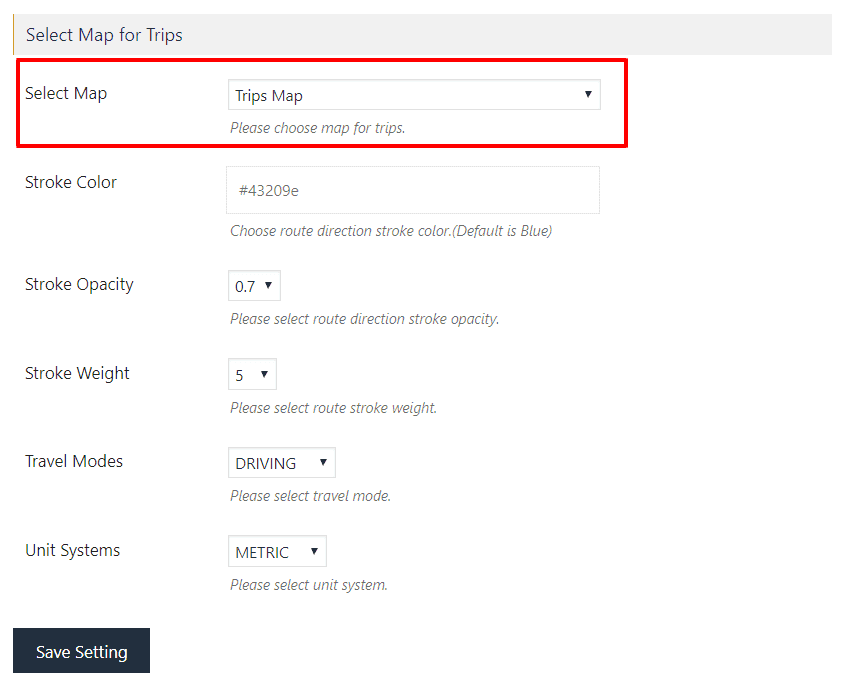
5) Configure Add-on Settings
Step 5: Go to WP MAPS PRO → Customer Itinerary on Google Maps.
Step 6: Select your map from the Select Map dropdown.
Step 7: Click Save Setting.
6) Display Trip List on the Frontend
Step 8: Use the shortcode [user_trips_list] to display a trip list form where users can create and manage trips.

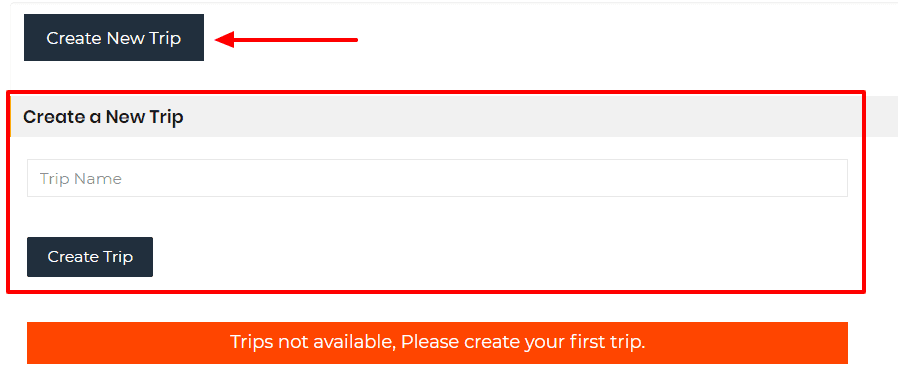
7) Create a New Trip
Step 9: Click Create New Trip.
Step 10: Enter a trip name and click Create Trip. The trip will appear in the table below, ready for location assignments.
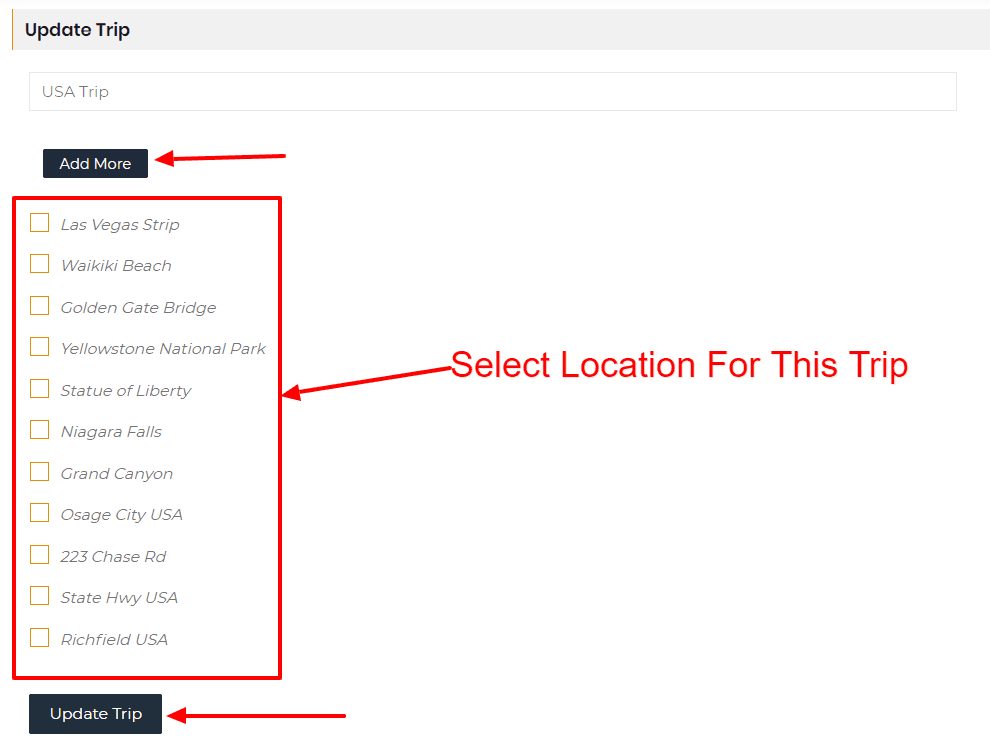
8) Assign Locations to a Trip
Step 11: Click Edit on the trip you want to add locations to.
Step 12: Click Add More, select your locations, and click Update Trip.
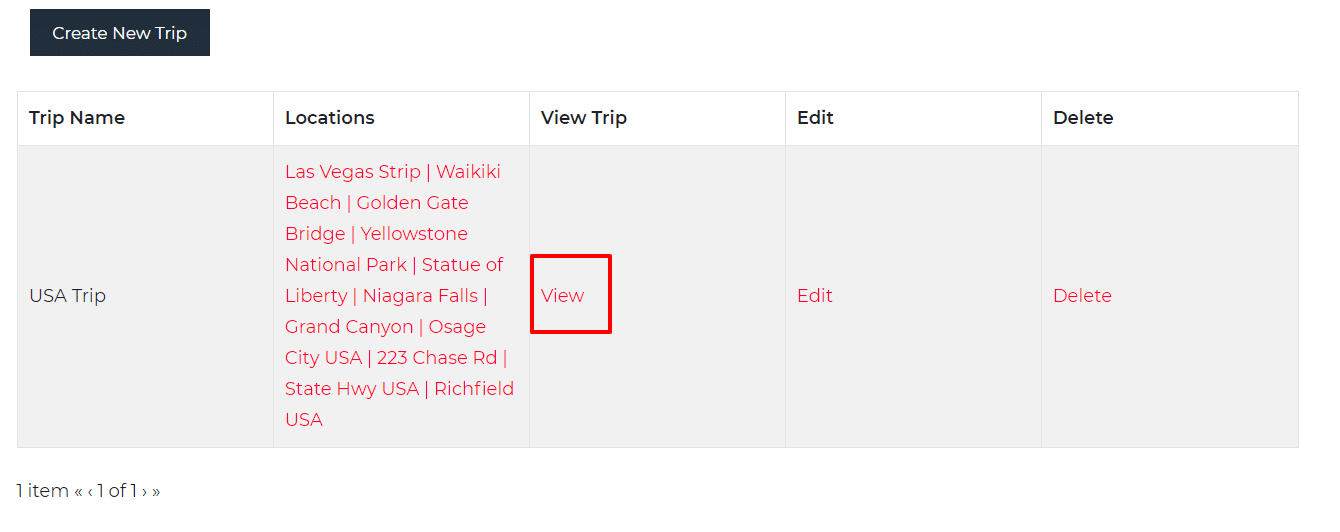
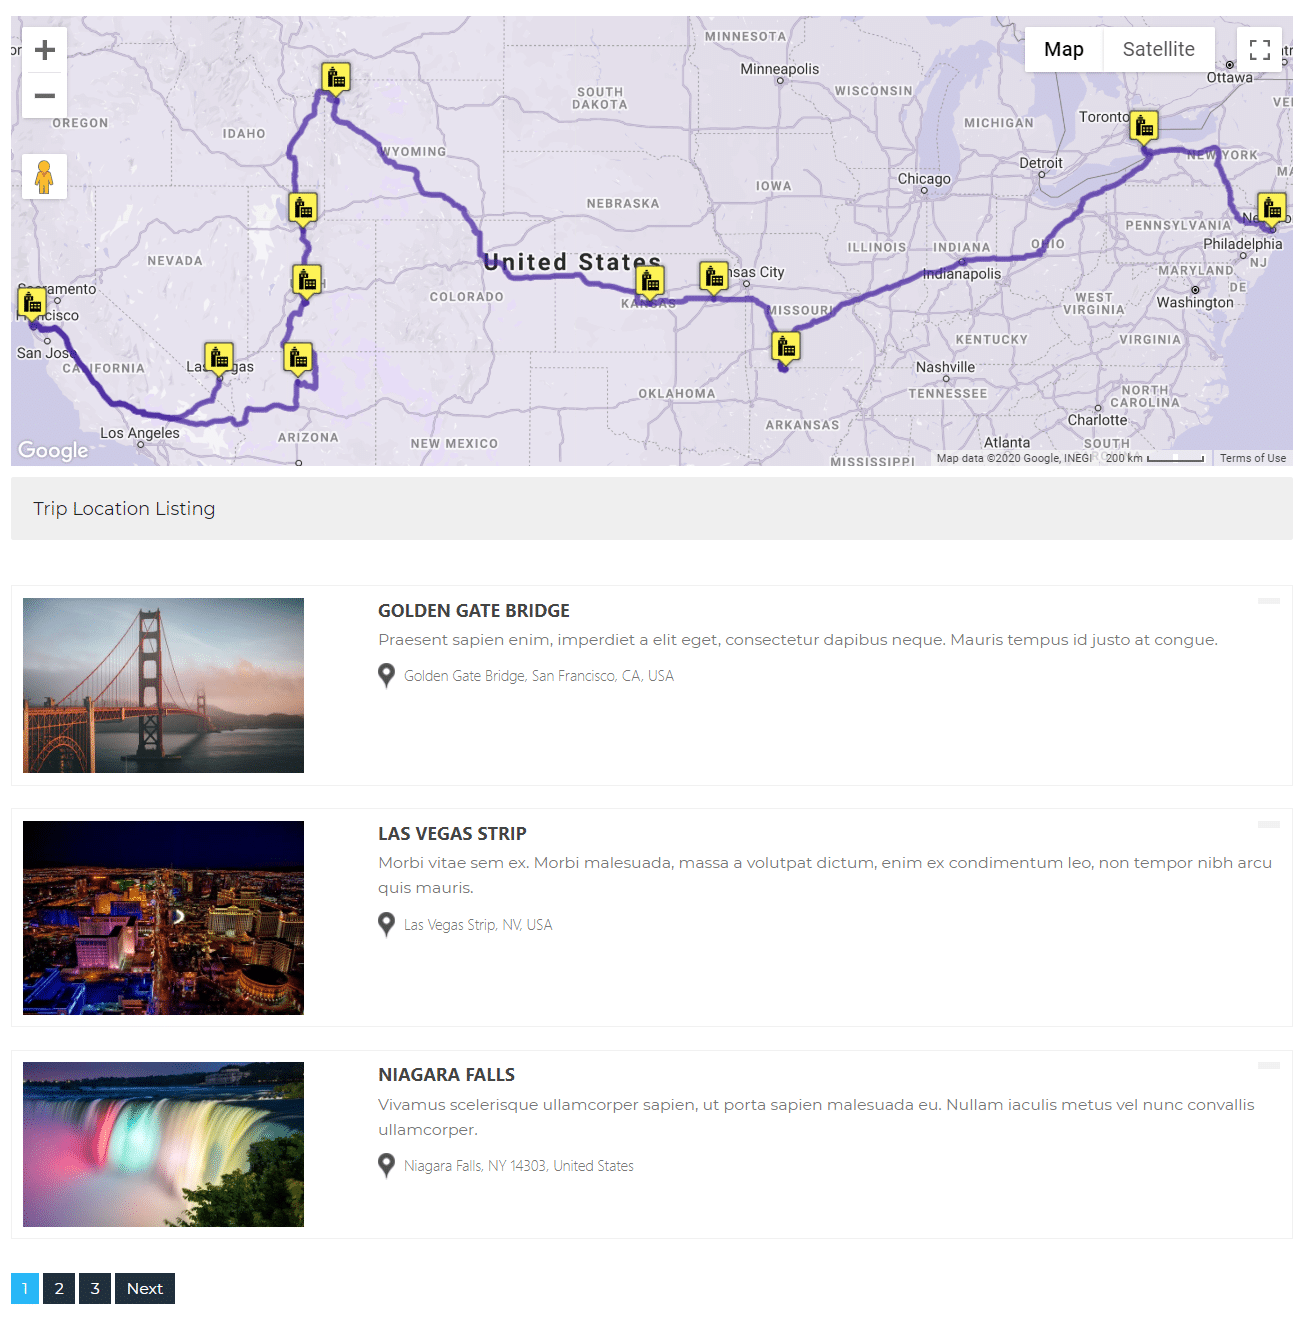
9) View the Trip Route
Step 13: Go to the trip page and click View to see your route on the map. All selected locations will be connected in a trip route view.
Need Help?
If you have any questions or need assistance, please contact our support team.
Related Tutorials:
- Filter Map Listings by Visible Markers in Current Viewport
- Display unlimited filters using BuddyPress Extension
- Displays Gravity Form submissions on Google Maps
- Display Json data on Google Maps
- How to set custom colors on Google Maps skin