Did you know that you can personalize your Google Maps by customizing the map style to your liking? With just a few clicks, you can change the visual display of various elements like roads, parks, and built-up areas. You can even create your own custom styles for roads, labels, or geometry to give your maps a unique look and feel.
Create your own custom styles for roads, labels or geometry
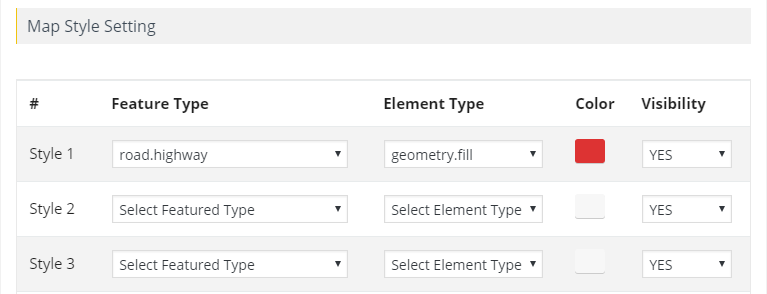
Step 1 Go to Add or Edit Map and scroll down to the ‘Map Style Setting’ section.
Step 2 Select any Feature Type, Element type, and color.
- Feature Type is used to select the geographical objects on the map, such as the road, the water, and the parks.
- Element Type is used to target the element that is part of the geographical objects, such as the object shape, the fill, the stroke, and the object labels.
Step 3 Save the map and open it in browser.
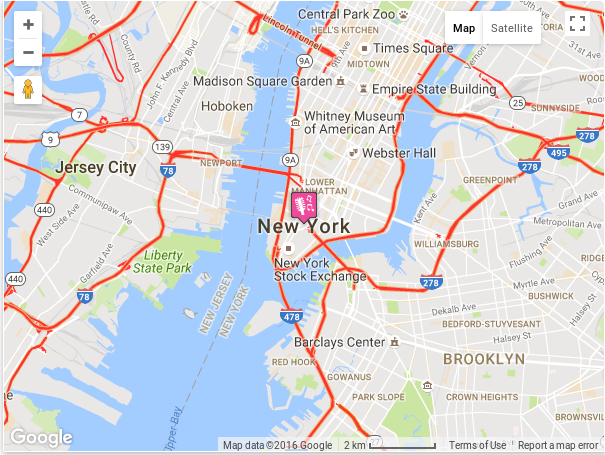
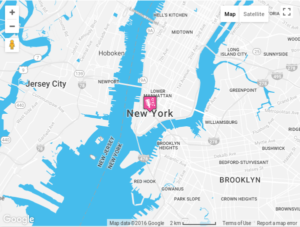
Below is the map you’ll create using elements.
Change Map Theme:
This allows you to display and manage your custom map and implement your own map skin.
You can customize the style or theme of the Google maps.
Step 1 You can change the theme of the map. For this click on snazzymaps.com
Step 2 Select and click the theme you want to make change.
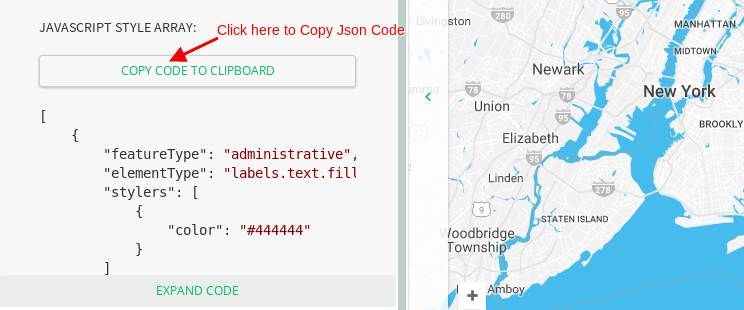
Step 3 Copy that JSON code from left side.
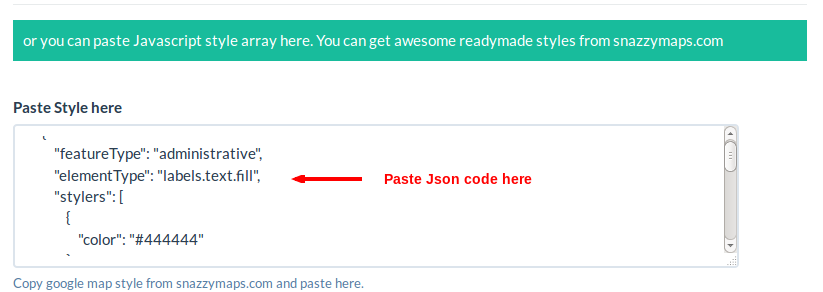
Step 4 Go to Add or Edit Map and Scroll down to ‘Map Style Setting’ section and paste it here to apply custom google maps skin.
Step 5 Click Save Map to see the changes.
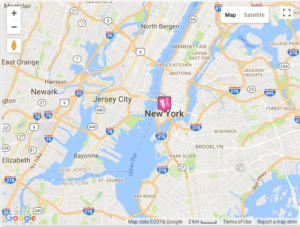
Before
After
Related Tutorials:
- How to apply color schemas in your Google Maps tabs & listing
- How to give a different style to your Google Maps
- How to make a Google Maps responsive and non responsive
