Filter by Topics

With WP Maps Pro, you can display WordPress post locations on your map using custom fields. This is ideal when your posts have location data saved in meta fields and you want to plot them directly on Google Maps using geo tags.
Step 1: From the WordPress dashboard, go to Posts → Add New.
Step 2: Add your post title, content, and set a featured image.
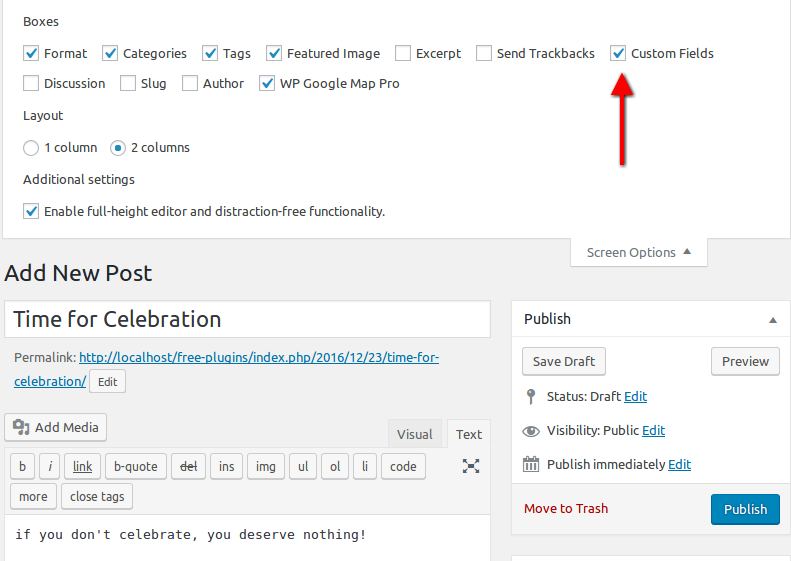
Step 3: To enable custom fields, click on Screen Options at the top right and check the Custom Fields box. This will display the custom fields panel below the editor.
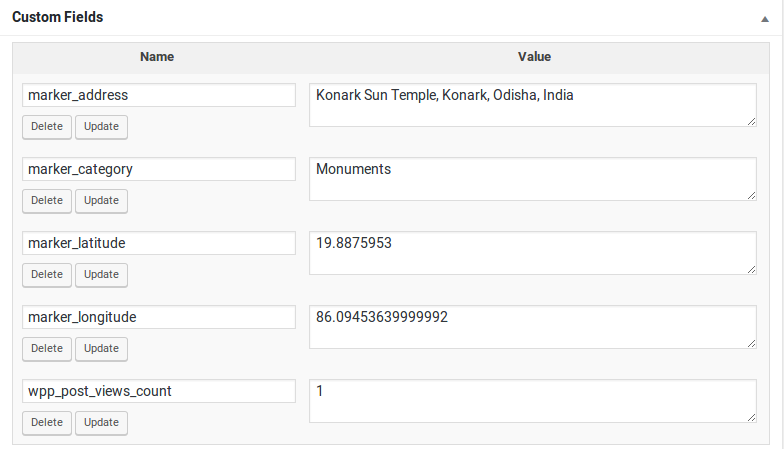
Step 4: Add a new custom field with a name like marker_address, marker_latitude, marker_longitude and marker_category and set these values in your post. You can choose custom fields name as you want.
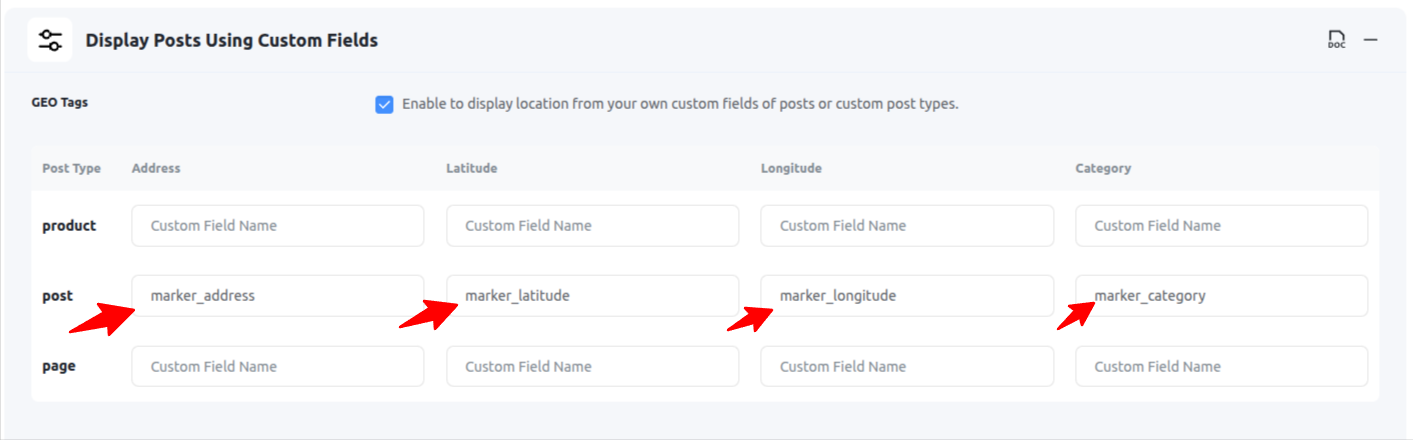
Step 5: Go to Manage Maps and click Add/Edit Map. Scroll down to the Show Posts Using Custom Fields section.
Step 6: Enable the checkbox labeled Geo Tags and enter the custom field name you used (e.g. marker_address, marker_latitude, marker_longitude and marker_category) in the appropriate input.
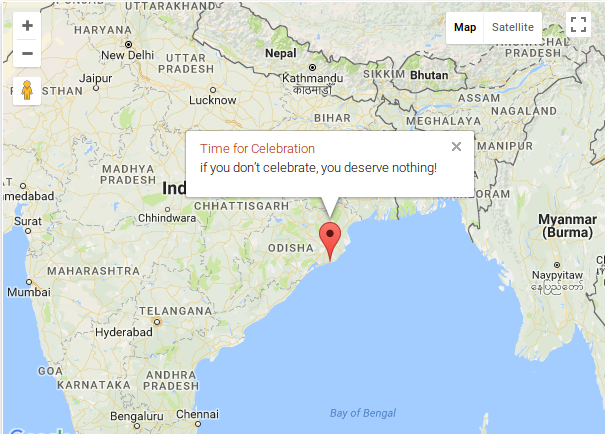
Step 7: Click Save Map and open the frontend page with your map. Your post will now be displayed using the location specified in the custom field.
You can display posts, pages, or any custom post types on Google Maps using this same method — just follow the exact steps outlined above.
💡 Use Cases
- Display blog posts or reviews with location tags
- Show real estate listings using address fields
- Plot event or business posts with coordinates stored in meta fields
Need help with setup? Submit a support ticket and we’ll walk you through it!