Filter by Topics

The Google Maps Skin Color add-on for WP MAPS PRO allows you to apply unique custom colors to your maps. Using the built-in color picker and color swatches, you can style maps to match your website’s branding or design theme.
Set Custom Colors on Google Maps
Note: Please ensure you have installed and activated the WP MAPS PRO plugin before using this add-on. If not, click here to follow the installation steps.
Steps to Configure Google Maps Skin Color Add-on:
Step 1: Go to WP MAPS PRO → Maps Skin Editor.
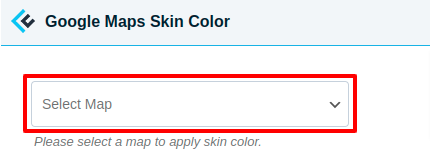
Step 2: From the dropdown menu, select the map where you want to apply the custom skin.
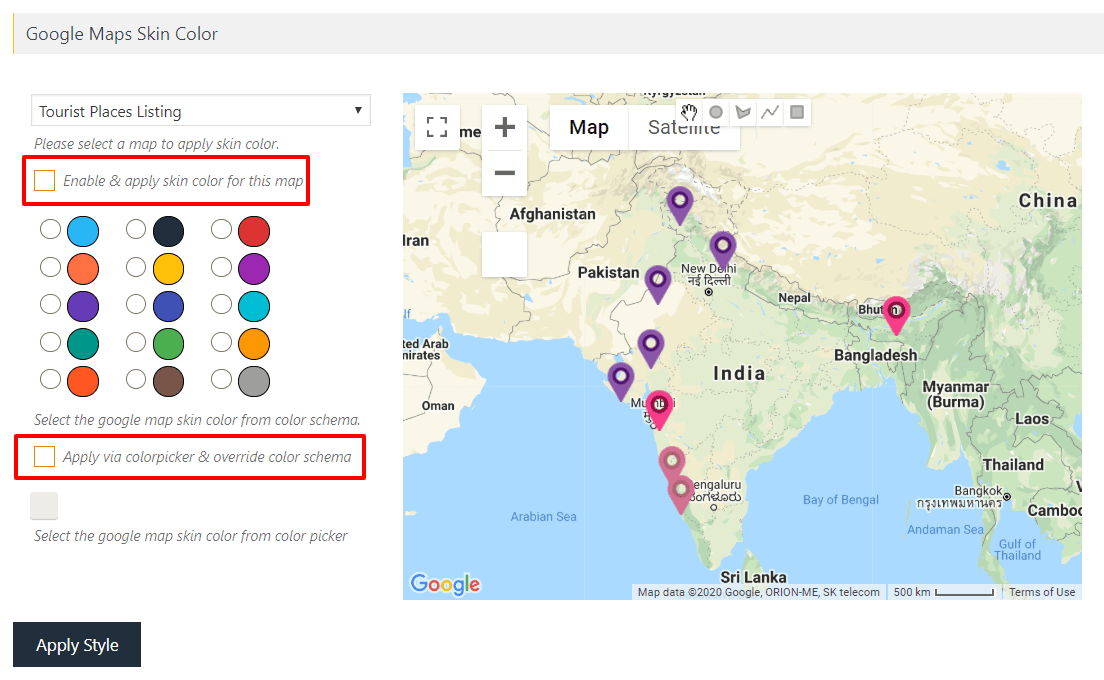
Step 3: You will see two options:
– Enable & apply skin color for this map → Apply the selected skin colors.
– Apply via color picker & override color schema → Use custom colors with the color picker.
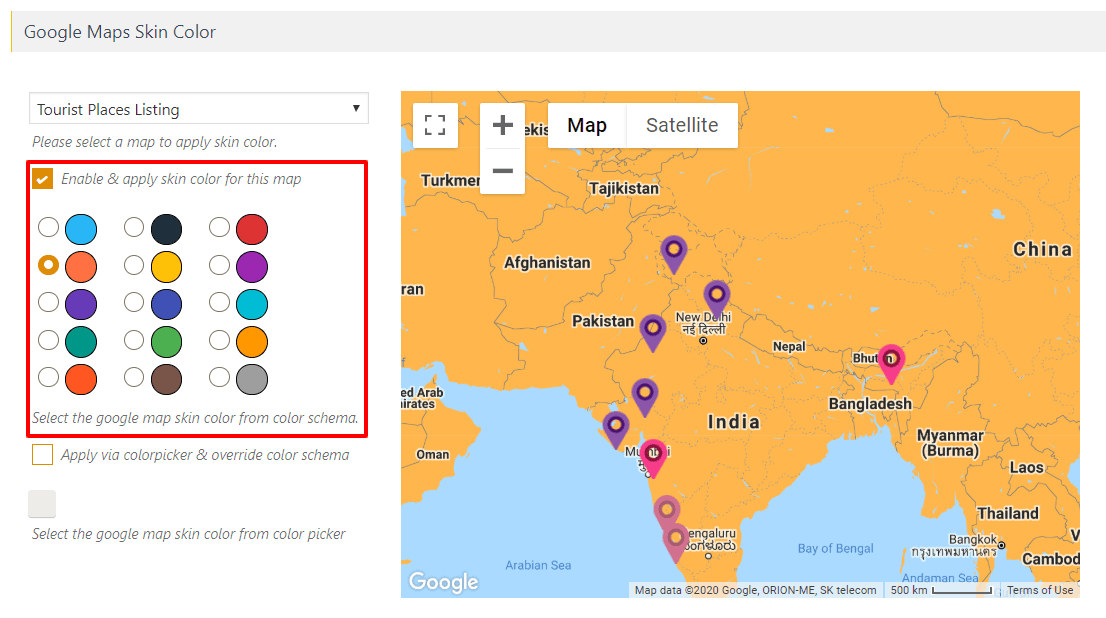
Step 4: Enable the option and select colors from the provided schemas.
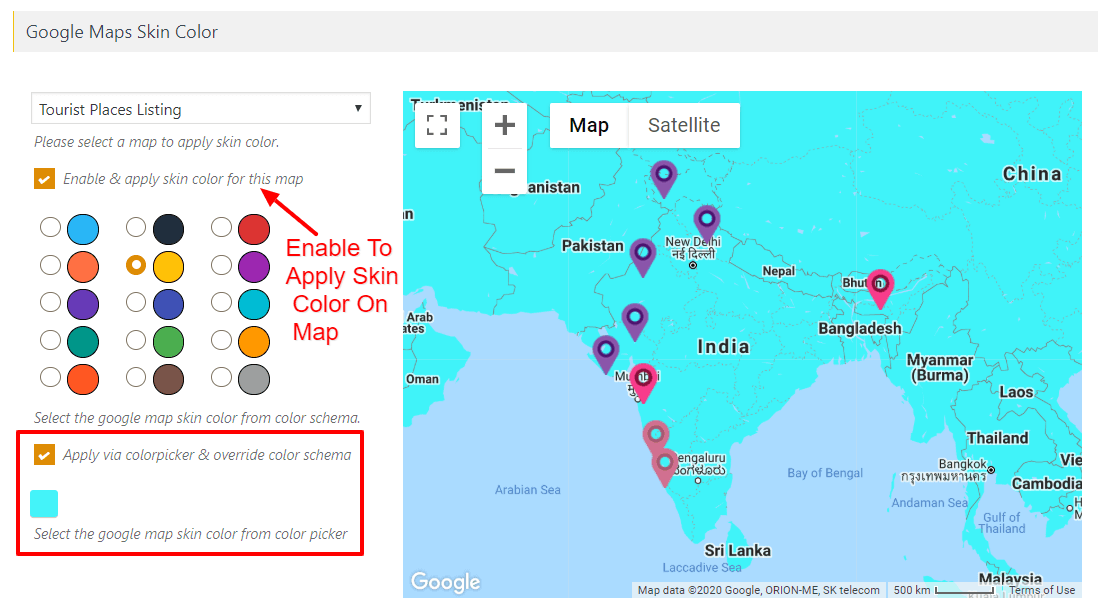
Step 5: To override with your own colors, enable both checkboxes and pick your desired shades.
Step 6: Click Apply Style to save changes. Your map will now display with your chosen custom colors.
Live Demo
👉 See it in action: Google Maps Skin Color Demo
Need Help?
For assistance, visit our support center.