Filter by Topics

The BuddyPress Members on Google Maps add-on for WP MAPS PRO lets you display registered BuddyPress members on an interactive Google Map. Admins can show members by user roles or BuddyPress groups, with member details in info windows and listings.
Requirements
– BuddyPress installed & activated
– WP MAPS PRO installed & activated
Steps to Display BuddyPress Members on Google Maps
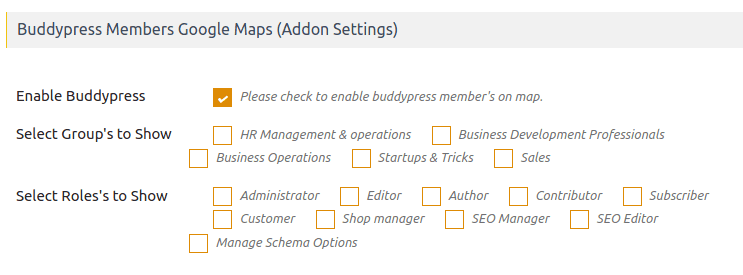
Step 1: Go to Add or Edit Map → “BuddyPress Members Google Maps (Addon Settings)”.
Step 2: Enable “Enable BuddyPress” and save.
—
Add an Address Field to Member Profiles
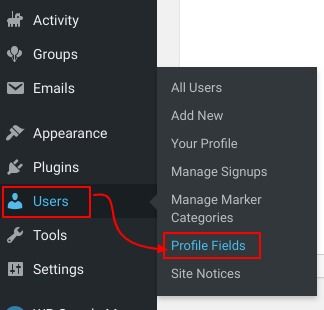
Step 3: Navigate to BuddyPress → Profile Fields in the WordPress Users menu.
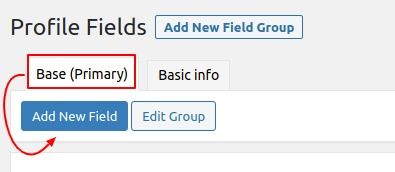
Step 4: Click “Add New Field” under the Base (Primary) tab.
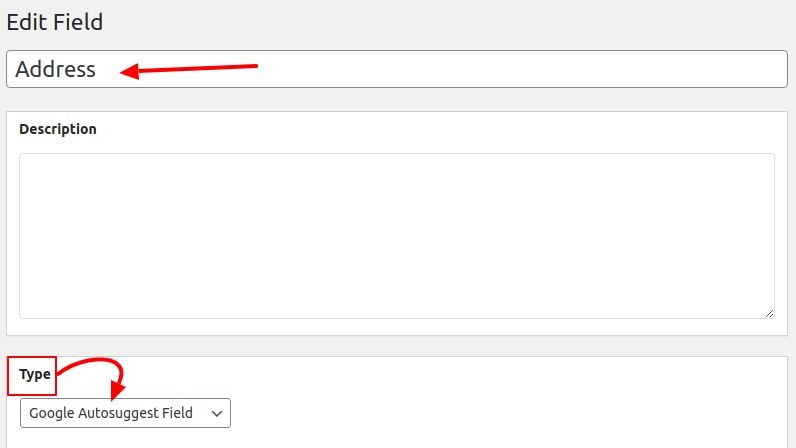
Step 5: Name the field “Address”, set the field type to Google Autosuggest, and save.
Now members can add/update their location in their profile.
—
Assign Marker Icons to Roles & Groups
Step 6: Create marker categories in WP MAPS PRO → Add Marker Category.
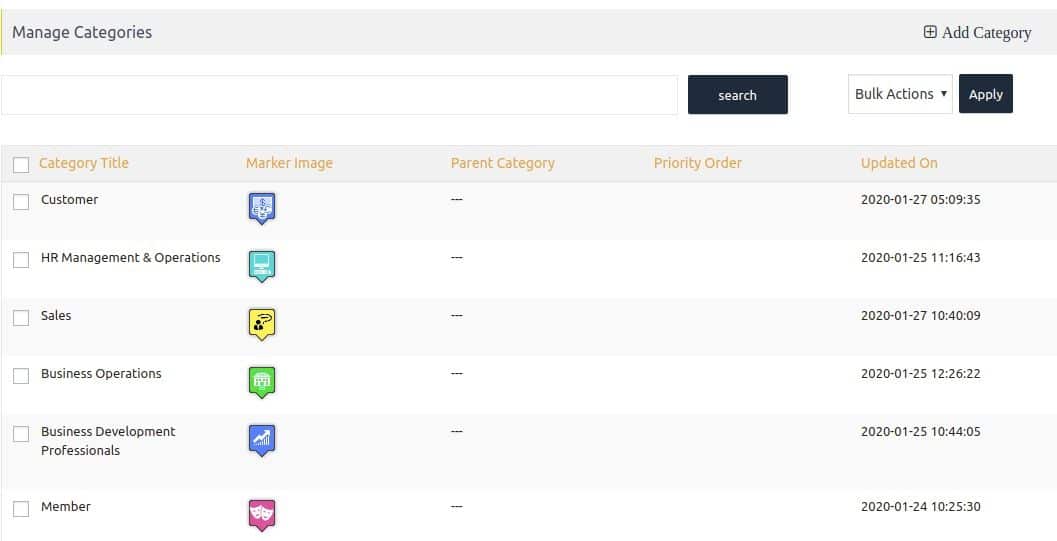
Step 7: Go to Users → Manage Marker Categories.
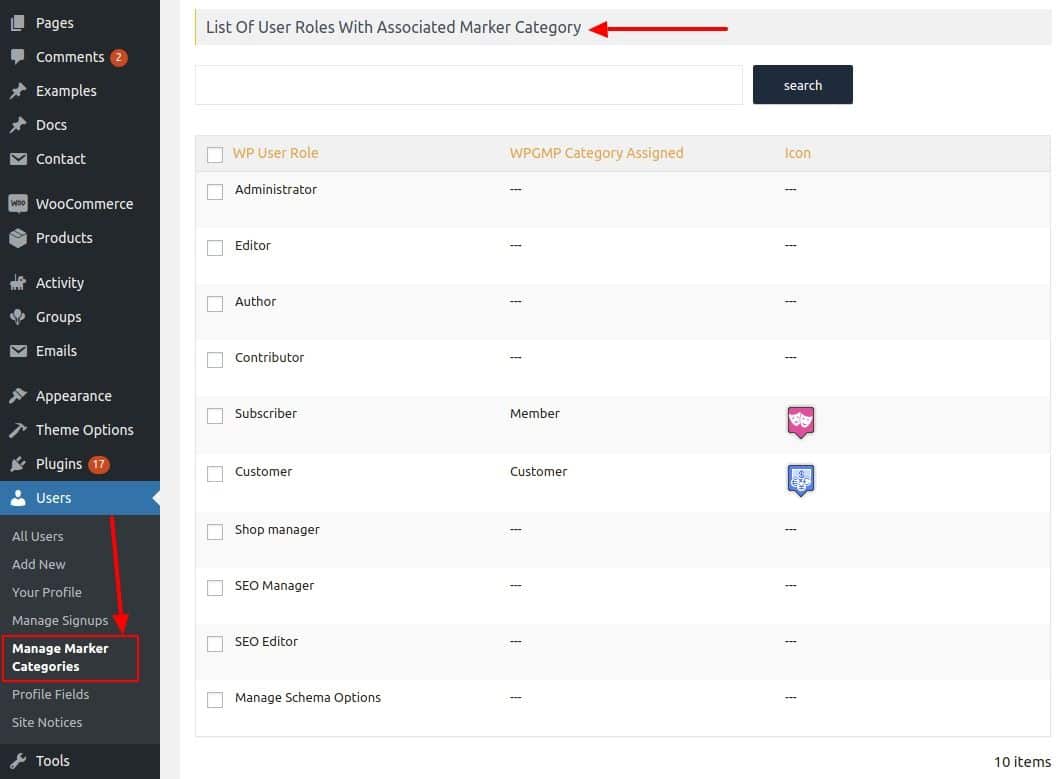
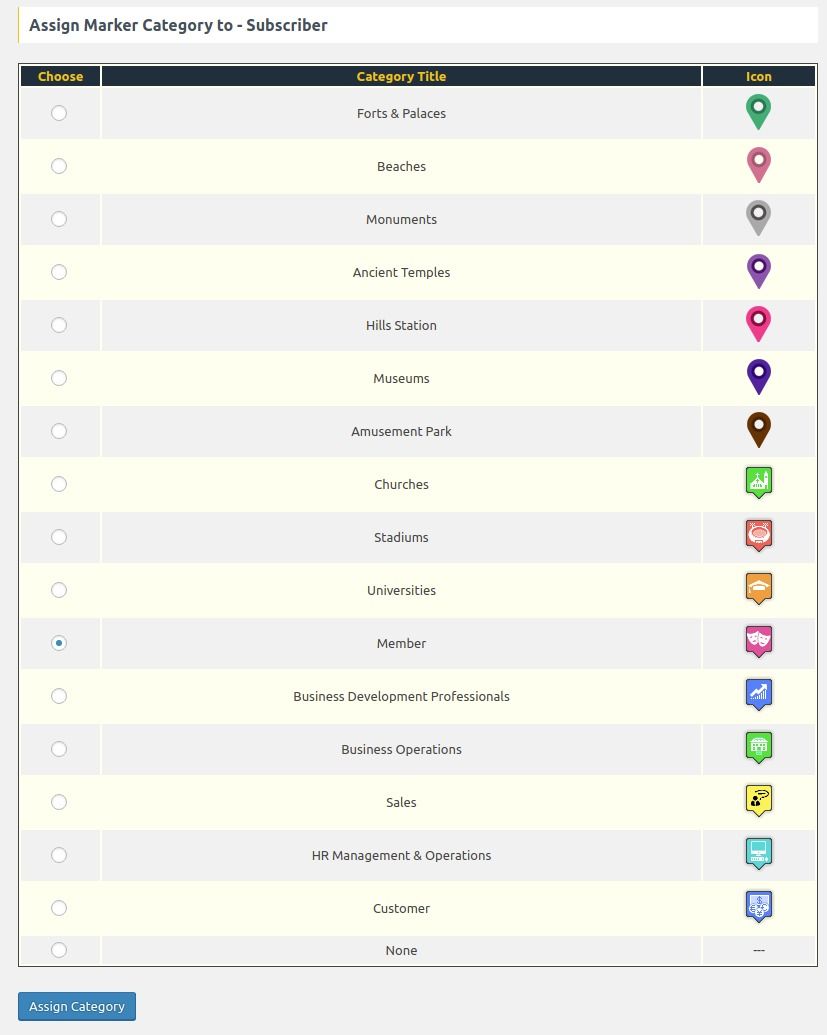
Step 8: Edit a role, assign it a marker category with an icon, and save.
—
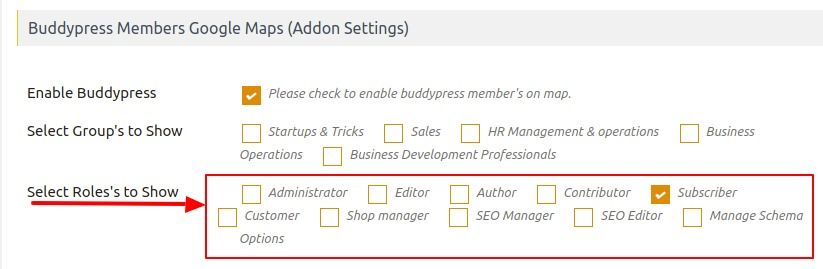
Filter Display by Roles or Groups
Step 9: To display only specific **BuddyPress group members**, enable “Select Group’s to Show”.
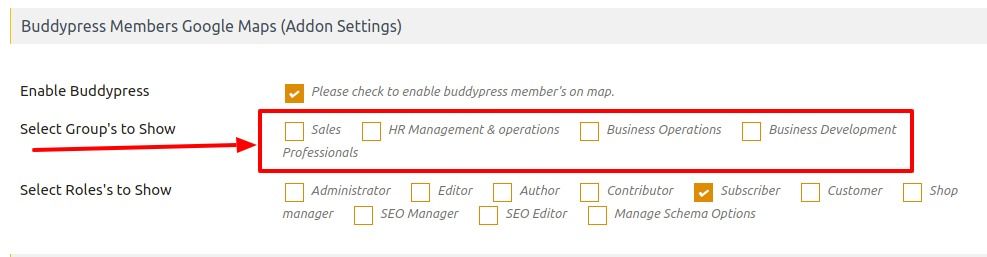
Step 10: To display only specific **roles**, enable “Select Roles to Show” and save.
—
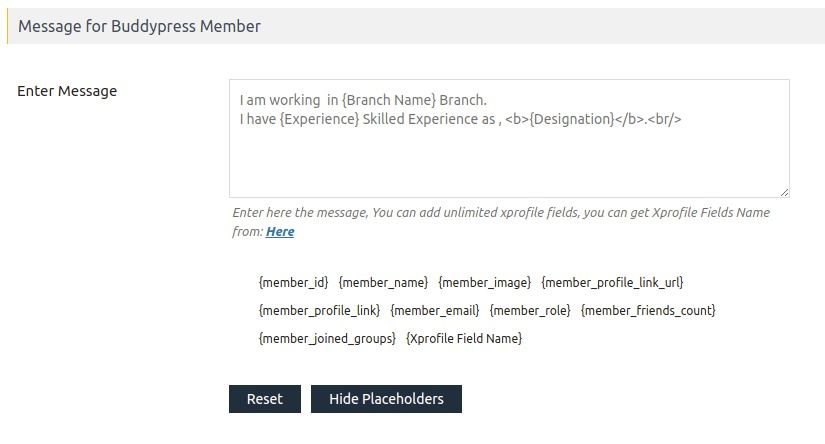
Display Member Info in Map Markers
Step 11: In the map settings, go to “Message for BuddyPress Member” and customize the info window with placeholders.
Your BuddyPress members will now appear on the map with full profile details.
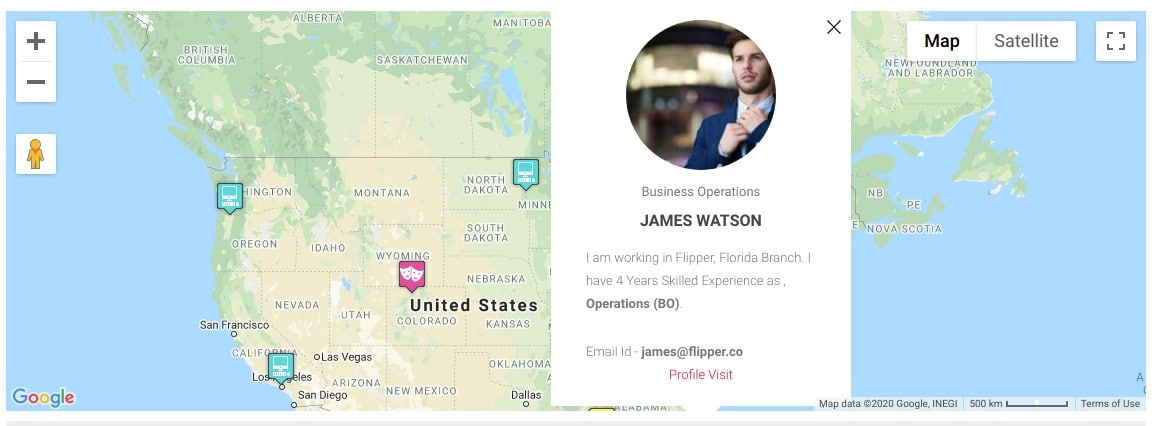
👉 See a working example here.
Need Help?
If you face any issues, visit our support center.