Filter by Topics

Want to make your map more visually engaging? WP Maps Pro lets you assign unique icons to each marker category. You can choose from pre-designed icons, A–Z alphabets, numbers 1–9, or upload your own image or SVG. You can even resize marker icons dynamically using our built-in filter!
Step 1: Choose an Icon While Creating or Editing a Marker Category
Go to WP MAPS PRO → Add Marker Category, and click the Choose button next to the icon field.
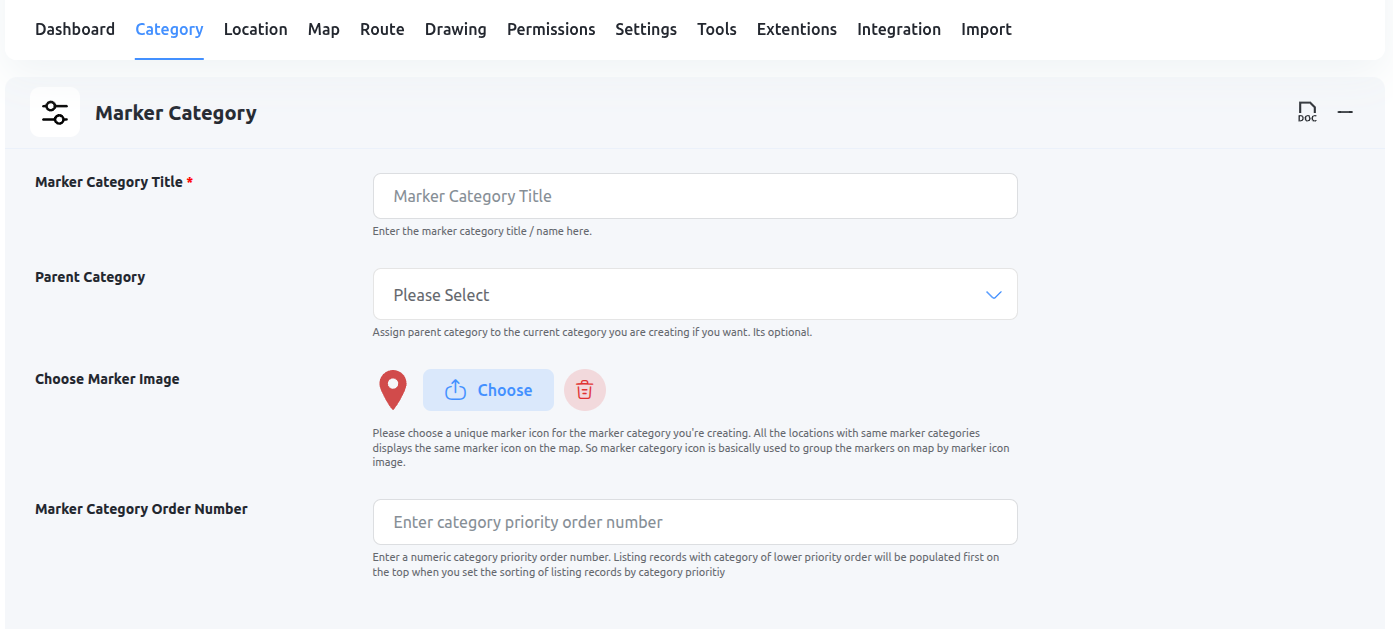
A popup will appear with multiple tabs to select your marker:
Option 1: Upload from Computer
- Click on the From Computer tab.
- Select any image or SVG from your system — it will be added to the Media Library.
- Switch to the Media Library tab and click Show for the image you want to use.
- (Optional) Click Edit Image to adjust size.
- Click Insert Into Post.
![]()
Option 2: Use Image from URL
- Click on the From URL tab.
- Paste the direct URL of the marker icon.
- Click Insert Into Post to use it.
![]()
Option 3: Select from Media Library
All images you upload will also be available in the Media Library tab. Click Show and then Insert Into Post to select.
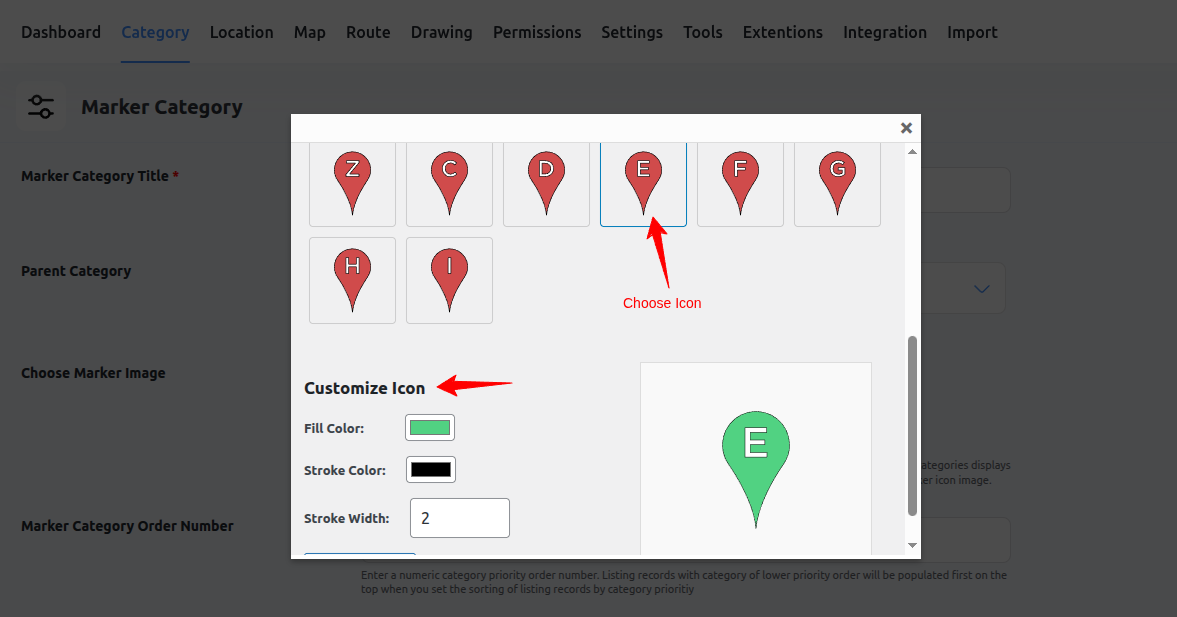
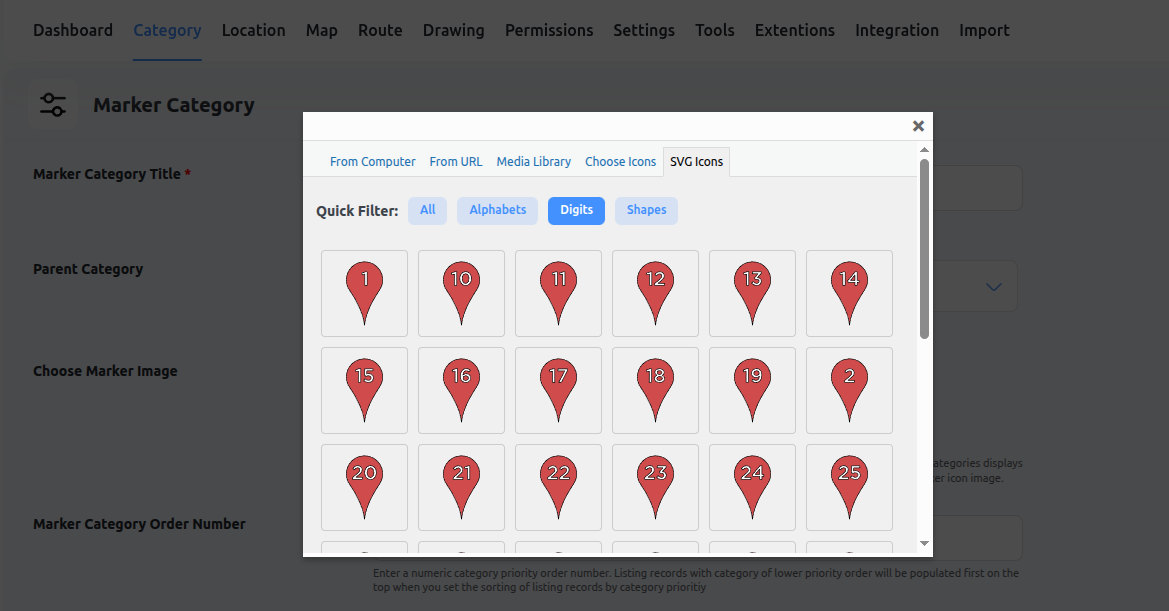
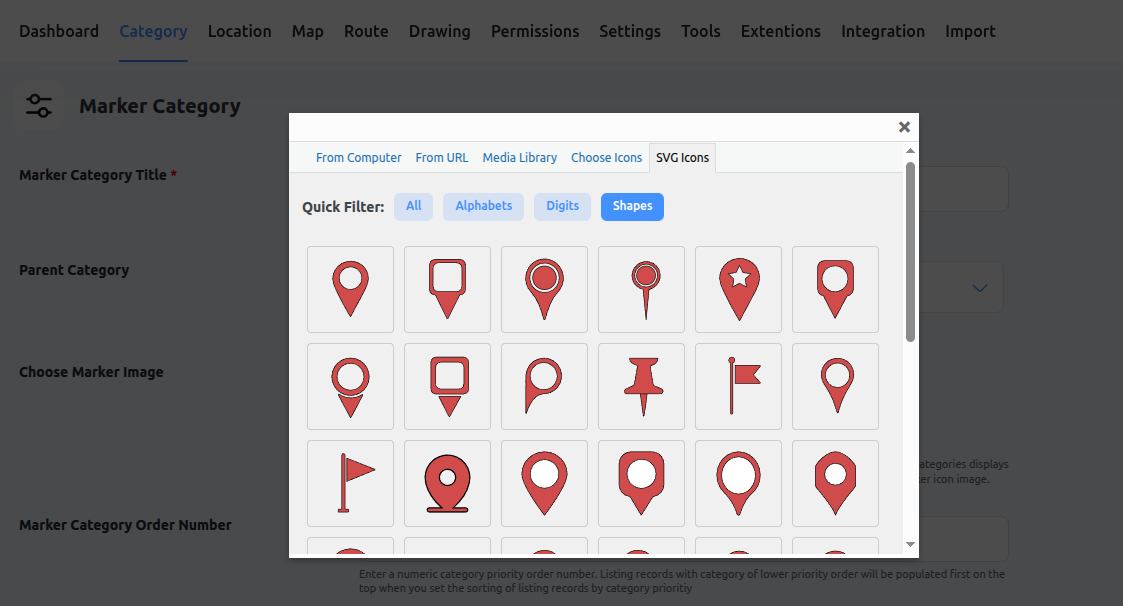
Option 4: Choose from Predefined Icons
Switch to the Choose Icons tab to explore a diverse collection of ready-to-use marker icons. These are perfect for quickly assigning visual identity to your categories without uploading custom images.
- Alphabet Icons (A–Z): Assign letters to your marker categories to represent store names, service types, or regions — fully customizable to match your brand.
- Number Icons (1–9): Use numbered markers to indicate steps, locations in a sequence, or priority-based points of interest.
- Pre-made Location-Specific Icons: We’ve designed a variety of unique icons tailored for specific industries and use cases — ideal for real estate, restaurants, services, and more.
📐 Bonus: Resize Marker Dynamically by Device
You can use our developer filter wpgmp_marker_size to change marker size based on screen size (mobile, tablet, desktop).
Example: Display smaller markers on mobile and larger ones on desktops for better UX. This is especially useful with SVG icons!
📌 Final Step
After selecting or uploading your icon, click Save Marker Category. Your custom marker icon will now appear on all locations assigned to this category.
Need help with icons or filters? Submit a support ticket — we’ll assist you quickly!