Filter by Topics

With the WP MAPS PRO plugin and the JSON to Maps add-on, you can easily display data from a JSON file on Google Maps. Simply upload your JSON file in the backend, map the JSON fields to your map’s title, content, and images, and the plugin will automatically display the data in both the info window and listing.
Requirements
Before getting started, make sure you have:
- Installed and activated the WP MAPS PRO plugin
- Installed and activated the JSON to Maps add-on
If WP MAPS PRO is not installed, follow this installation guide first.
Step-by-Step Setup
Step 1 – Access the JSON File to Map Page
Go to WP MAPS PRO → JSON File to Map.
Step 2 – Select Your Map
From the Select Map dropdown, choose the map where you want the JSON data to appear.
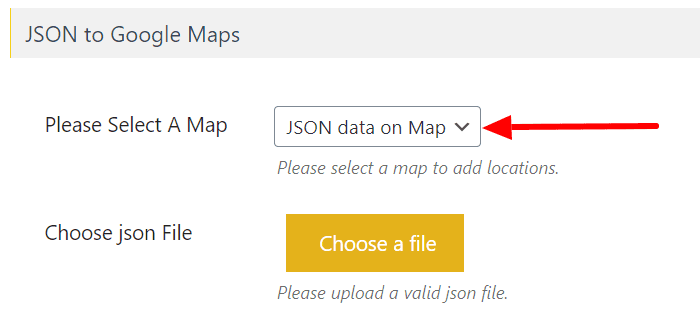
Step 3 – Upload JSON File
After selecting the map, a Choose JSON File dropdown will appear. Upload your JSON file here.

Step 4 – Map JSON Fields to Location Data
Once uploaded, the JSON file’s columns will appear with dropdowns. Assign each column to the correct location field (e.g., Title, Latitude, Longitude).
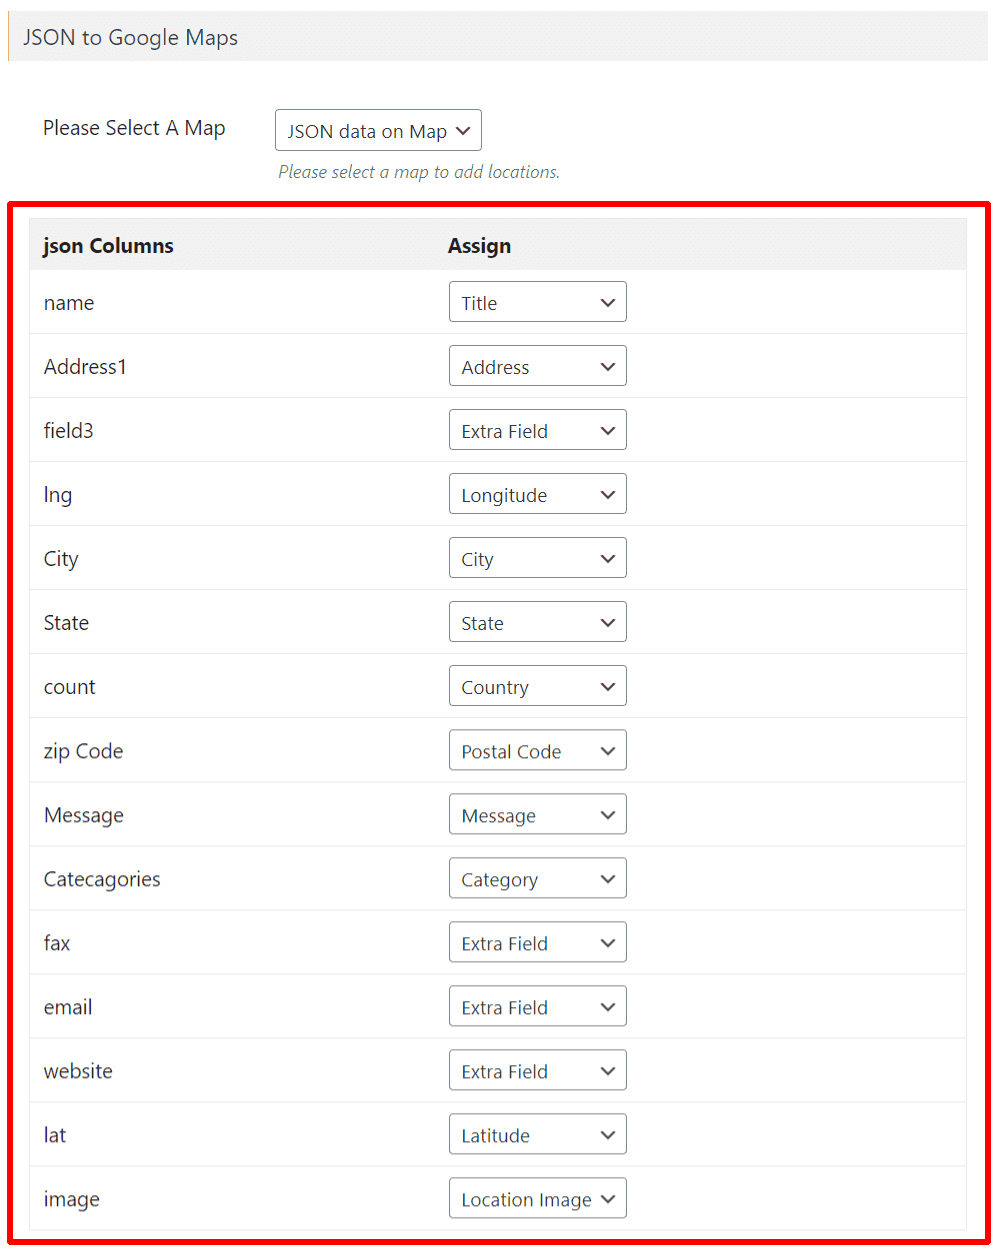
Note: Title, Latitude, and Longitude are required. You can also map Extra Fields and Categories for additional data.
Step 5 – Save Settings
After mapping, click Save Settings.
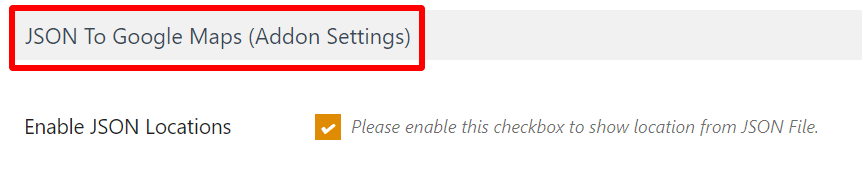
Step 6 – Enable JSON Locations on Your Map
Edit your selected map and scroll to the JSON To Google Maps (Addon Settings) section.
Enable the Enable MySql Locations checkbox.
Step 7 – Save the Map
Click Save Map. Your JSON data will now be displayed on the selected map.
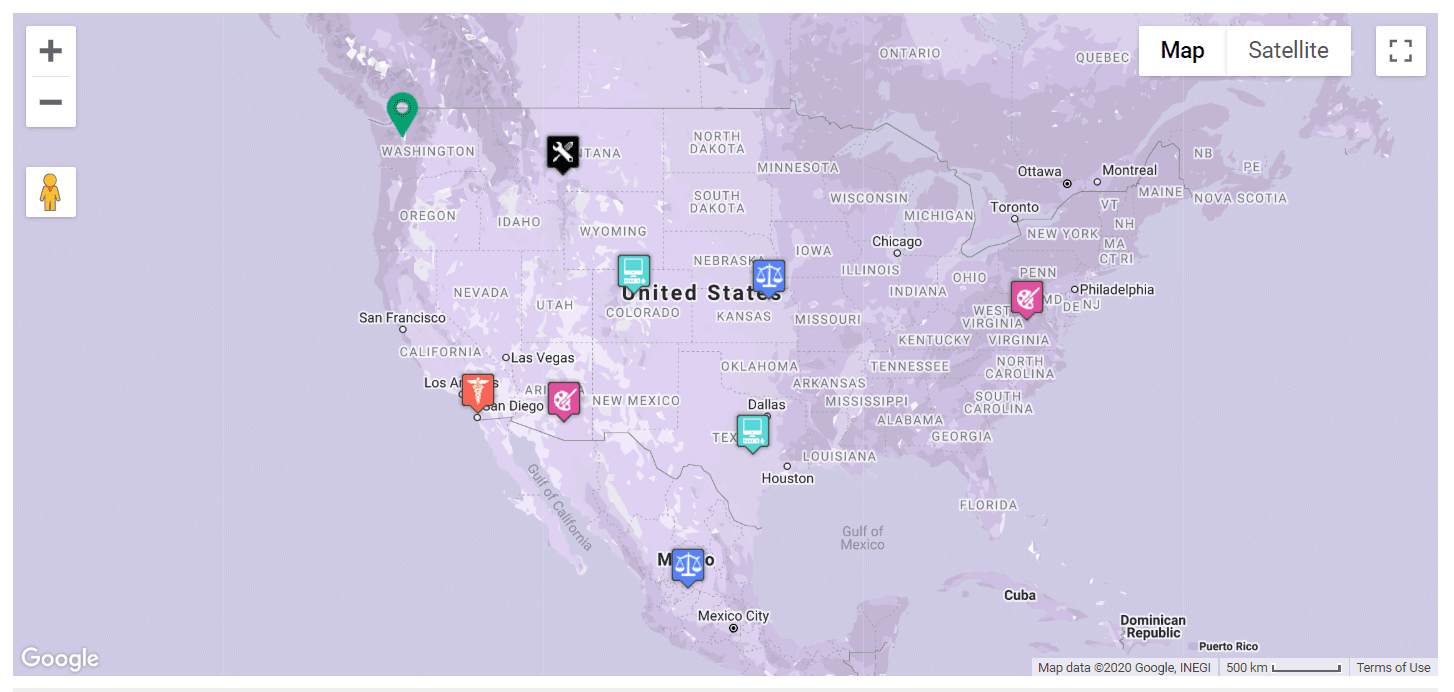
Live Demo
View a working example here: JSON to Google Maps Demo
Need Help?
If you have any questions, please contact our support team.