Filter by Topics

The WP Maps Pro plugin allows you to assign one or more existing locations to a map — enabling you to display location markers directly on the frontend. Once assigned, these markers become part of your interactive map.
📌 Before You Begin
Ensure you have already created locations. If not, follow that tutorial first.
🛠️ Steps to Assign Locations to a Map
Step 1: Go to Manage Maps and click Add/Edit Map.
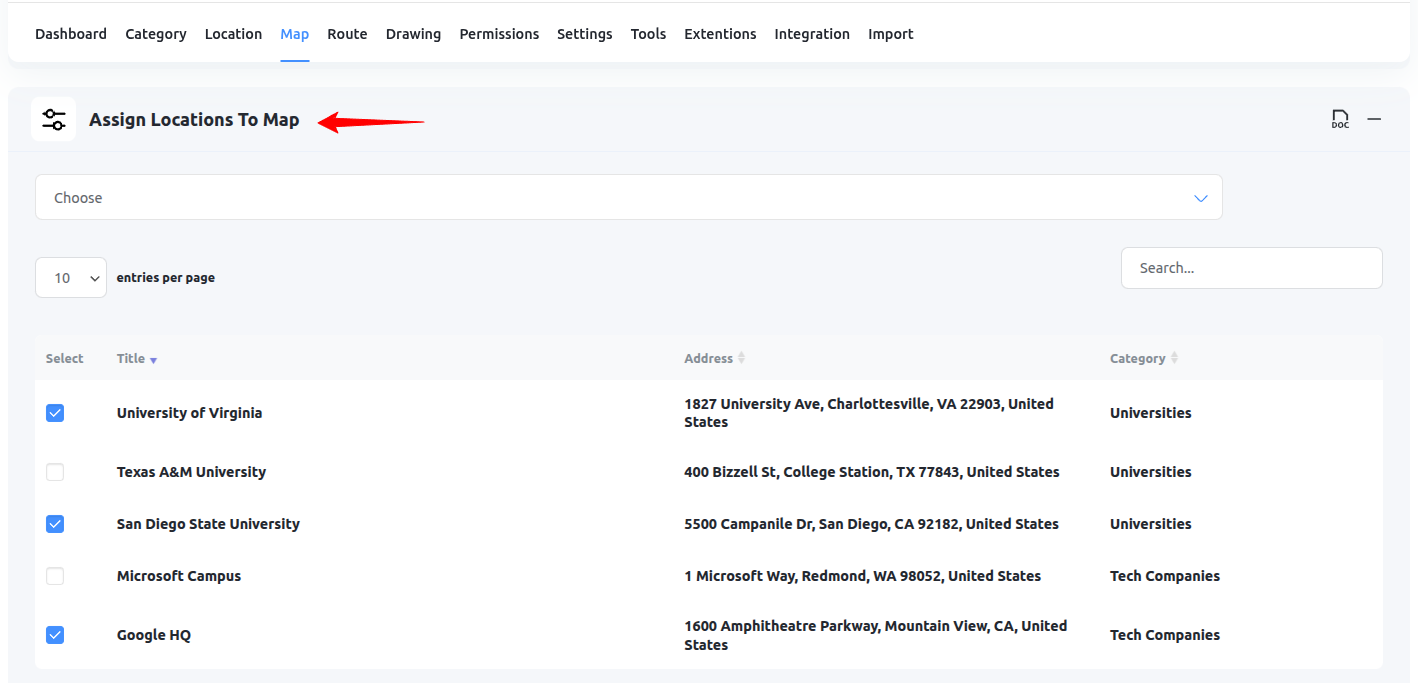
Scroll down to the Assign Locations to Map section.
Step 2: All the locations you’ve created will appear here in a list.
Use the search box to filter by title and then check the boxes for the locations you want to assign.
Step 3: Click Save Map.
Now open your map on the frontend — you’ll see your selected locations displayed as markers.
💡 Pro Tips
- You can assign unlimited locations to a single map.
- Use categories to group locations and apply filters.
- Use the map shortcode to embed the map anywhere.
Need assistance? Submit a support ticket and we’ll guide you.